Celebrating a baby’s first birthday is a real bittersweet milestone in parenthood. Just like that, the chaos of the year has come to an end. We get to say goodbye to formula feedings, all the baby ‘containers’, bottles, and onesies (93rd percentile baby).
When our firstborn turned 1, I went a little Dino crazy, everything was on theme. The snacks, the balloons, the wall decor, the signs, and even the party favors. Although, the favors were reusable shopping bags, themed as ‘Prevent Human Extinction – Avoid plastic bags’! So a small win for sustainability.
It was adorable and everything I thought we needed for a successful first birthday. In the end, there were multiple bags of trash containing plastic utensils, plates, decorations, balloons, and extra food. Someone had offered to make the smash cake for J, and I accepted. Day of she presented us with a dozen cupcakes shaped and decorated like a T-Rex. He poked at two of them, and then the rest ended up in the trash.
Now that it’s time to plan E’s first birthday, I know what I want to do differently. It was going to be a larger guest list. Everyone loves to watch a baby eat cake. Even when they don’t have kids. We invited 50+ people, all close friends and family.
- Food. Even just small snacks for a crowd can add up!
- Activities. Something for kids, but also something for adults, i.e. comfortable seating, fun music.
- A Plan. Most of our family will stick around for a while, but we have had some new friends join in the past. The look of desperation for cake after an hour and a half has taught me to plan. Those that want to stay and hang out, always will!
- A party favor option.

Take the time to celebrate.
We had it all at J’s first birthday! An elaborate cake. We bought the matching bathing suits, the birthday outfits, and the expensive version of an Evite card. We woke up early to pick up balloons, hang decorations, and start food prepping. Of course, we themed our party favors.
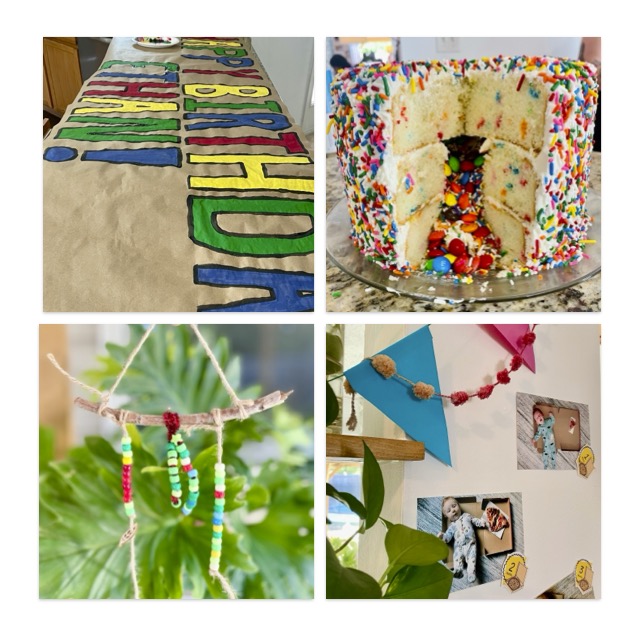
This time, we tried something new – a lot of colors, paper crafts, and homemade cake. We hung the decorations as we made them and we taped up photos remembering the last year to share with our friends. We even collected sticks for a crafts.
The latter absolutely took hours of preparation. However, while working on the projects we had all of these opportunities to celebrate E.
All of our Favorite Things
We love having a ‘favorite things’ day at our house. Each year on J’s birthday (and for the first time this year, E!), we take the day to do all the favorite things. It has become a slow, intentional, way to celebrate the boys.
A Favorite Thing doesn’t have to be grand, in fact, it usually isn’t. Instead it’s something we do regularly that is always a hit. It usually starts with French Toast stars and breakfast in the backyard. Then we dig for bugs before a visit to Mama’s work – if she isn’t able to be home with us.
From there, it’s usually the park, or the beach. We find a place for afternoon french fries, swim in the pool, and listen to all of our favorite songs. Then we head home and make dinner together. (Think grilled cheese, or pasta and sauce, almost always something simple!)
We are big fans of the sunshine and hot days. Fortunately, all of our birthday’s are in the warmer months of the year! We can usually spend most of our time out of the house.
A few we use on repeat
- Beach/Park/Pool. These are our favorite free options and can fill hours in the day together!
- A smoothie or Ice cream stop. Not a treat we do often, but very popular!
- The quarter claw machine. A local store has a few claw and gumball machines that J is always asking to do. It’s an easy, pretty cheap option, and is SO EXCITING to a 3-5 year old.
- Hiking or bug finding. I know that this isn’t in everyones wheel house, but a Tupperware with dirt and sticks in the bottom can hold a lot of roly-polys.
- Visit a grandparent or friend close by.
- Beaded crafts. Seriously, a bag of pipe cleaners and beads that sparkle can change a little’s whole mood.
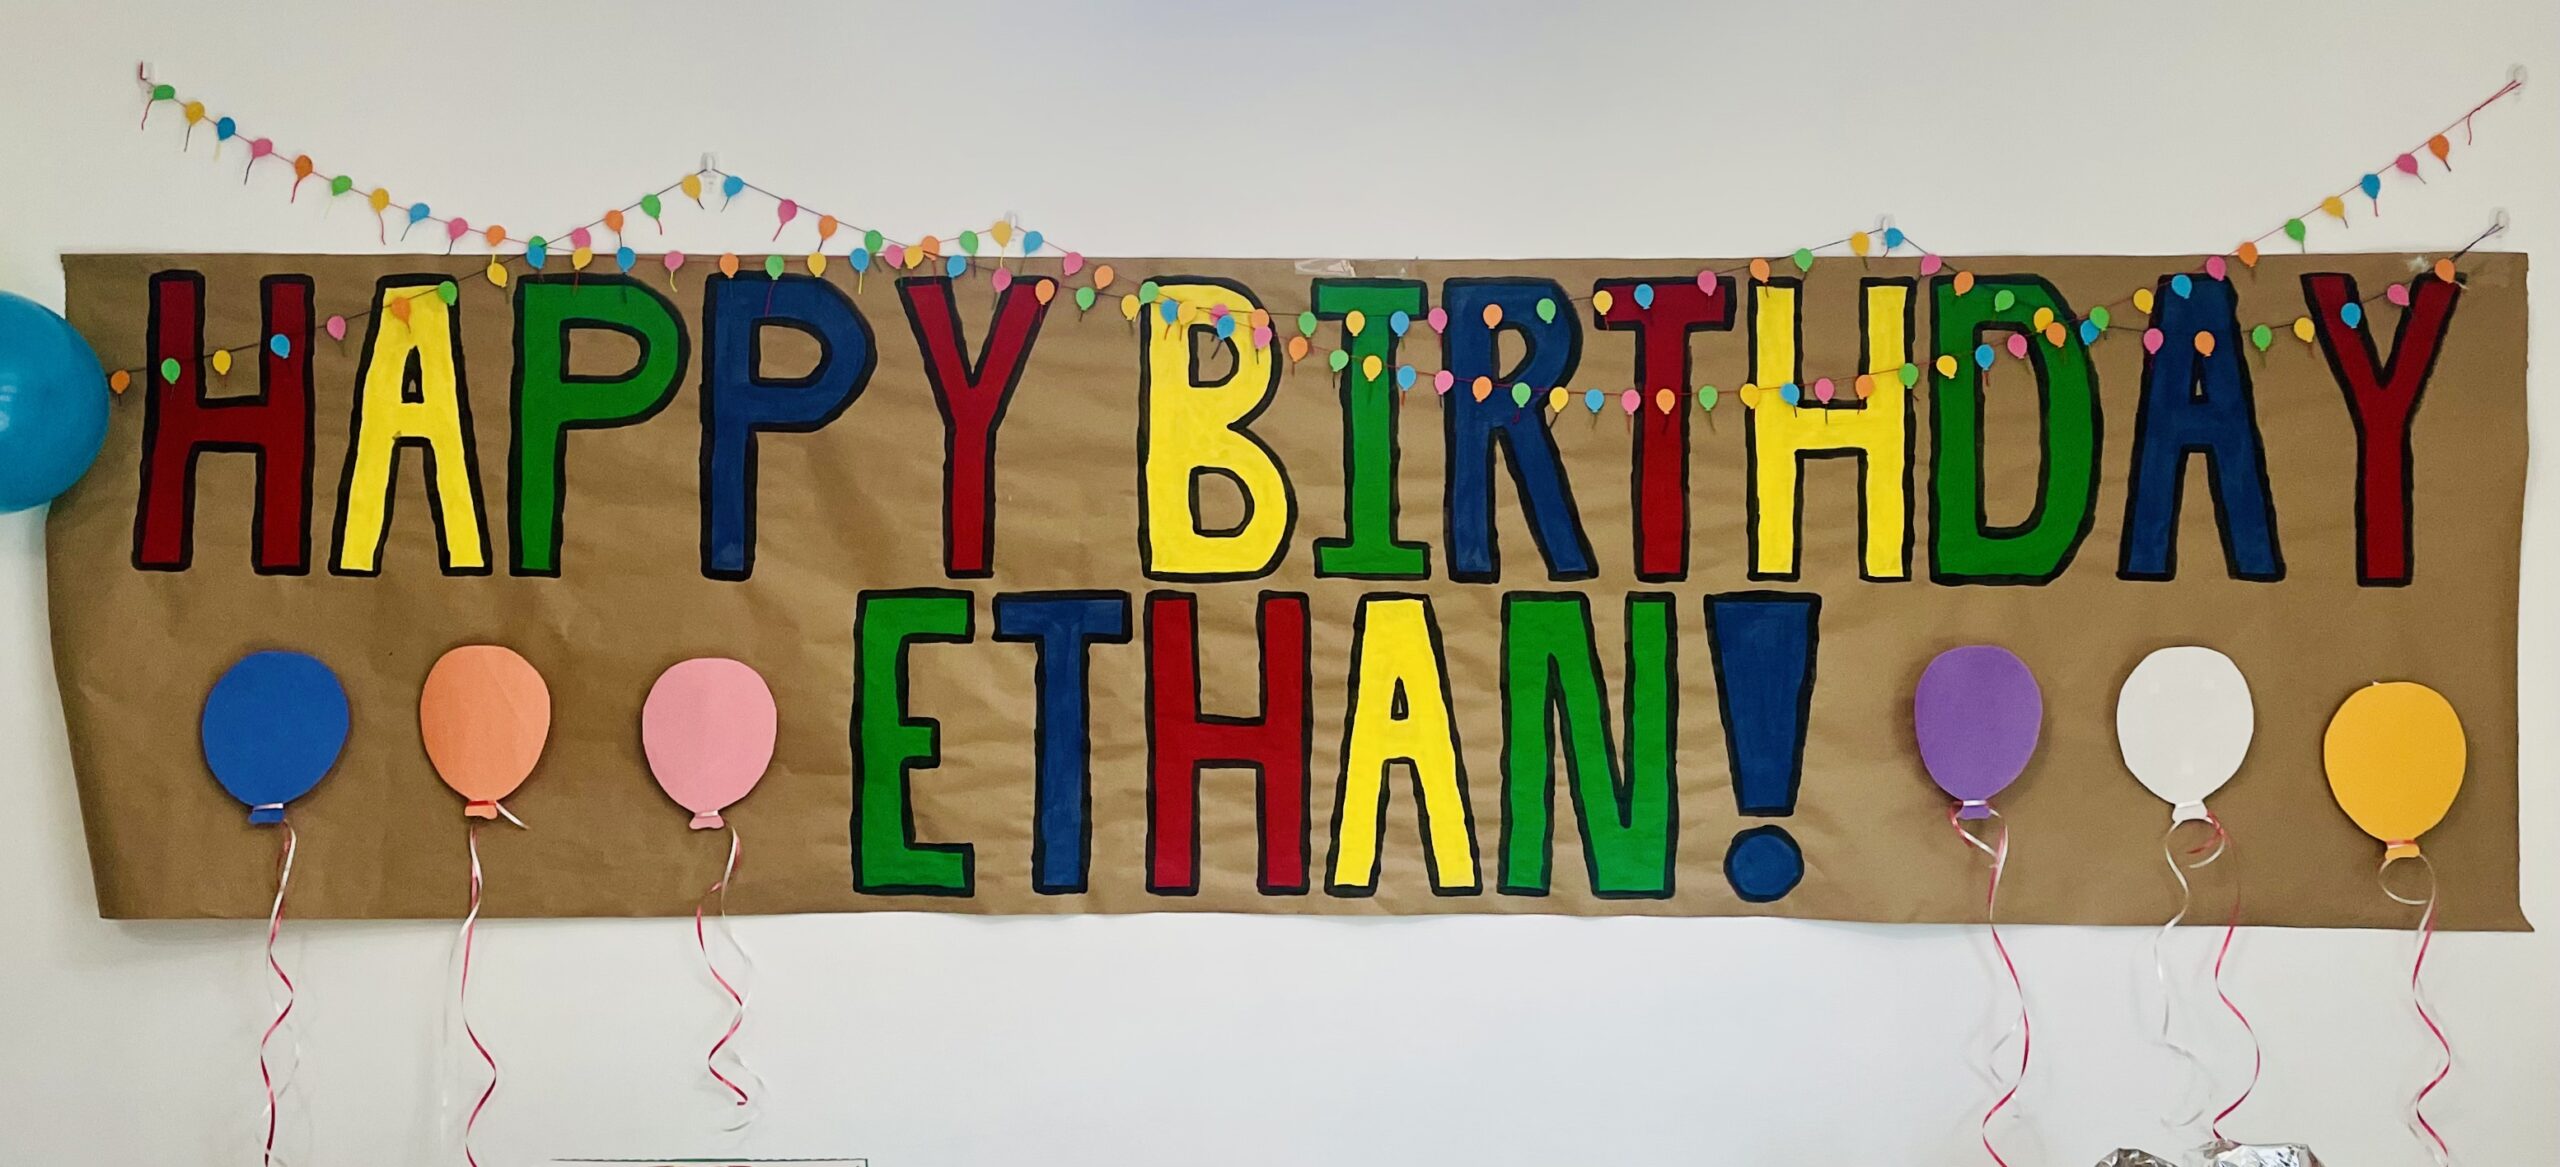
Homemade Birthday Banner
There is absolutely a love/hate dynamic when I think about the Dollar Store. The amount of cheap plastic is hard to stomach, and the overwhelming amount of seasonal one-time use decor is frustrating. However, there is also so much value in having an affordable place for so many necessary items.
One thing that I love them for is simple crafting supplies – paper, wood, beads, and paint. You can buy a roll of 30-inch x 10-foot kraft paper for a little over $1. This is the first time I’ve bought the roll, but you can bet I’m going to buy it to replace wrapping paper in the future, and just let the kids decorate it.
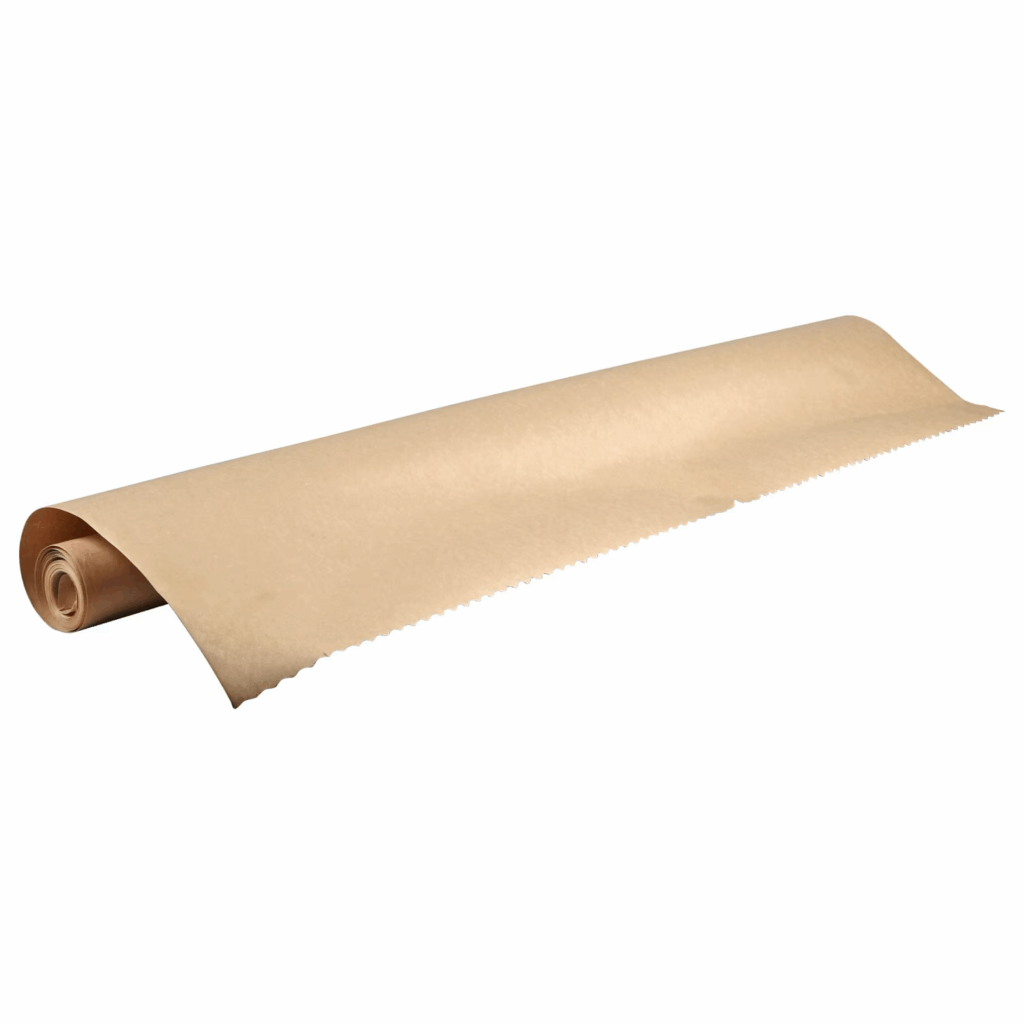
For this occasion, it made the perfect celebratory banner. Bonus, it will be easily recycled when we’re done with it, but that will be a long time from now . (We are adding this to our birthday tradition box, more about that later!)
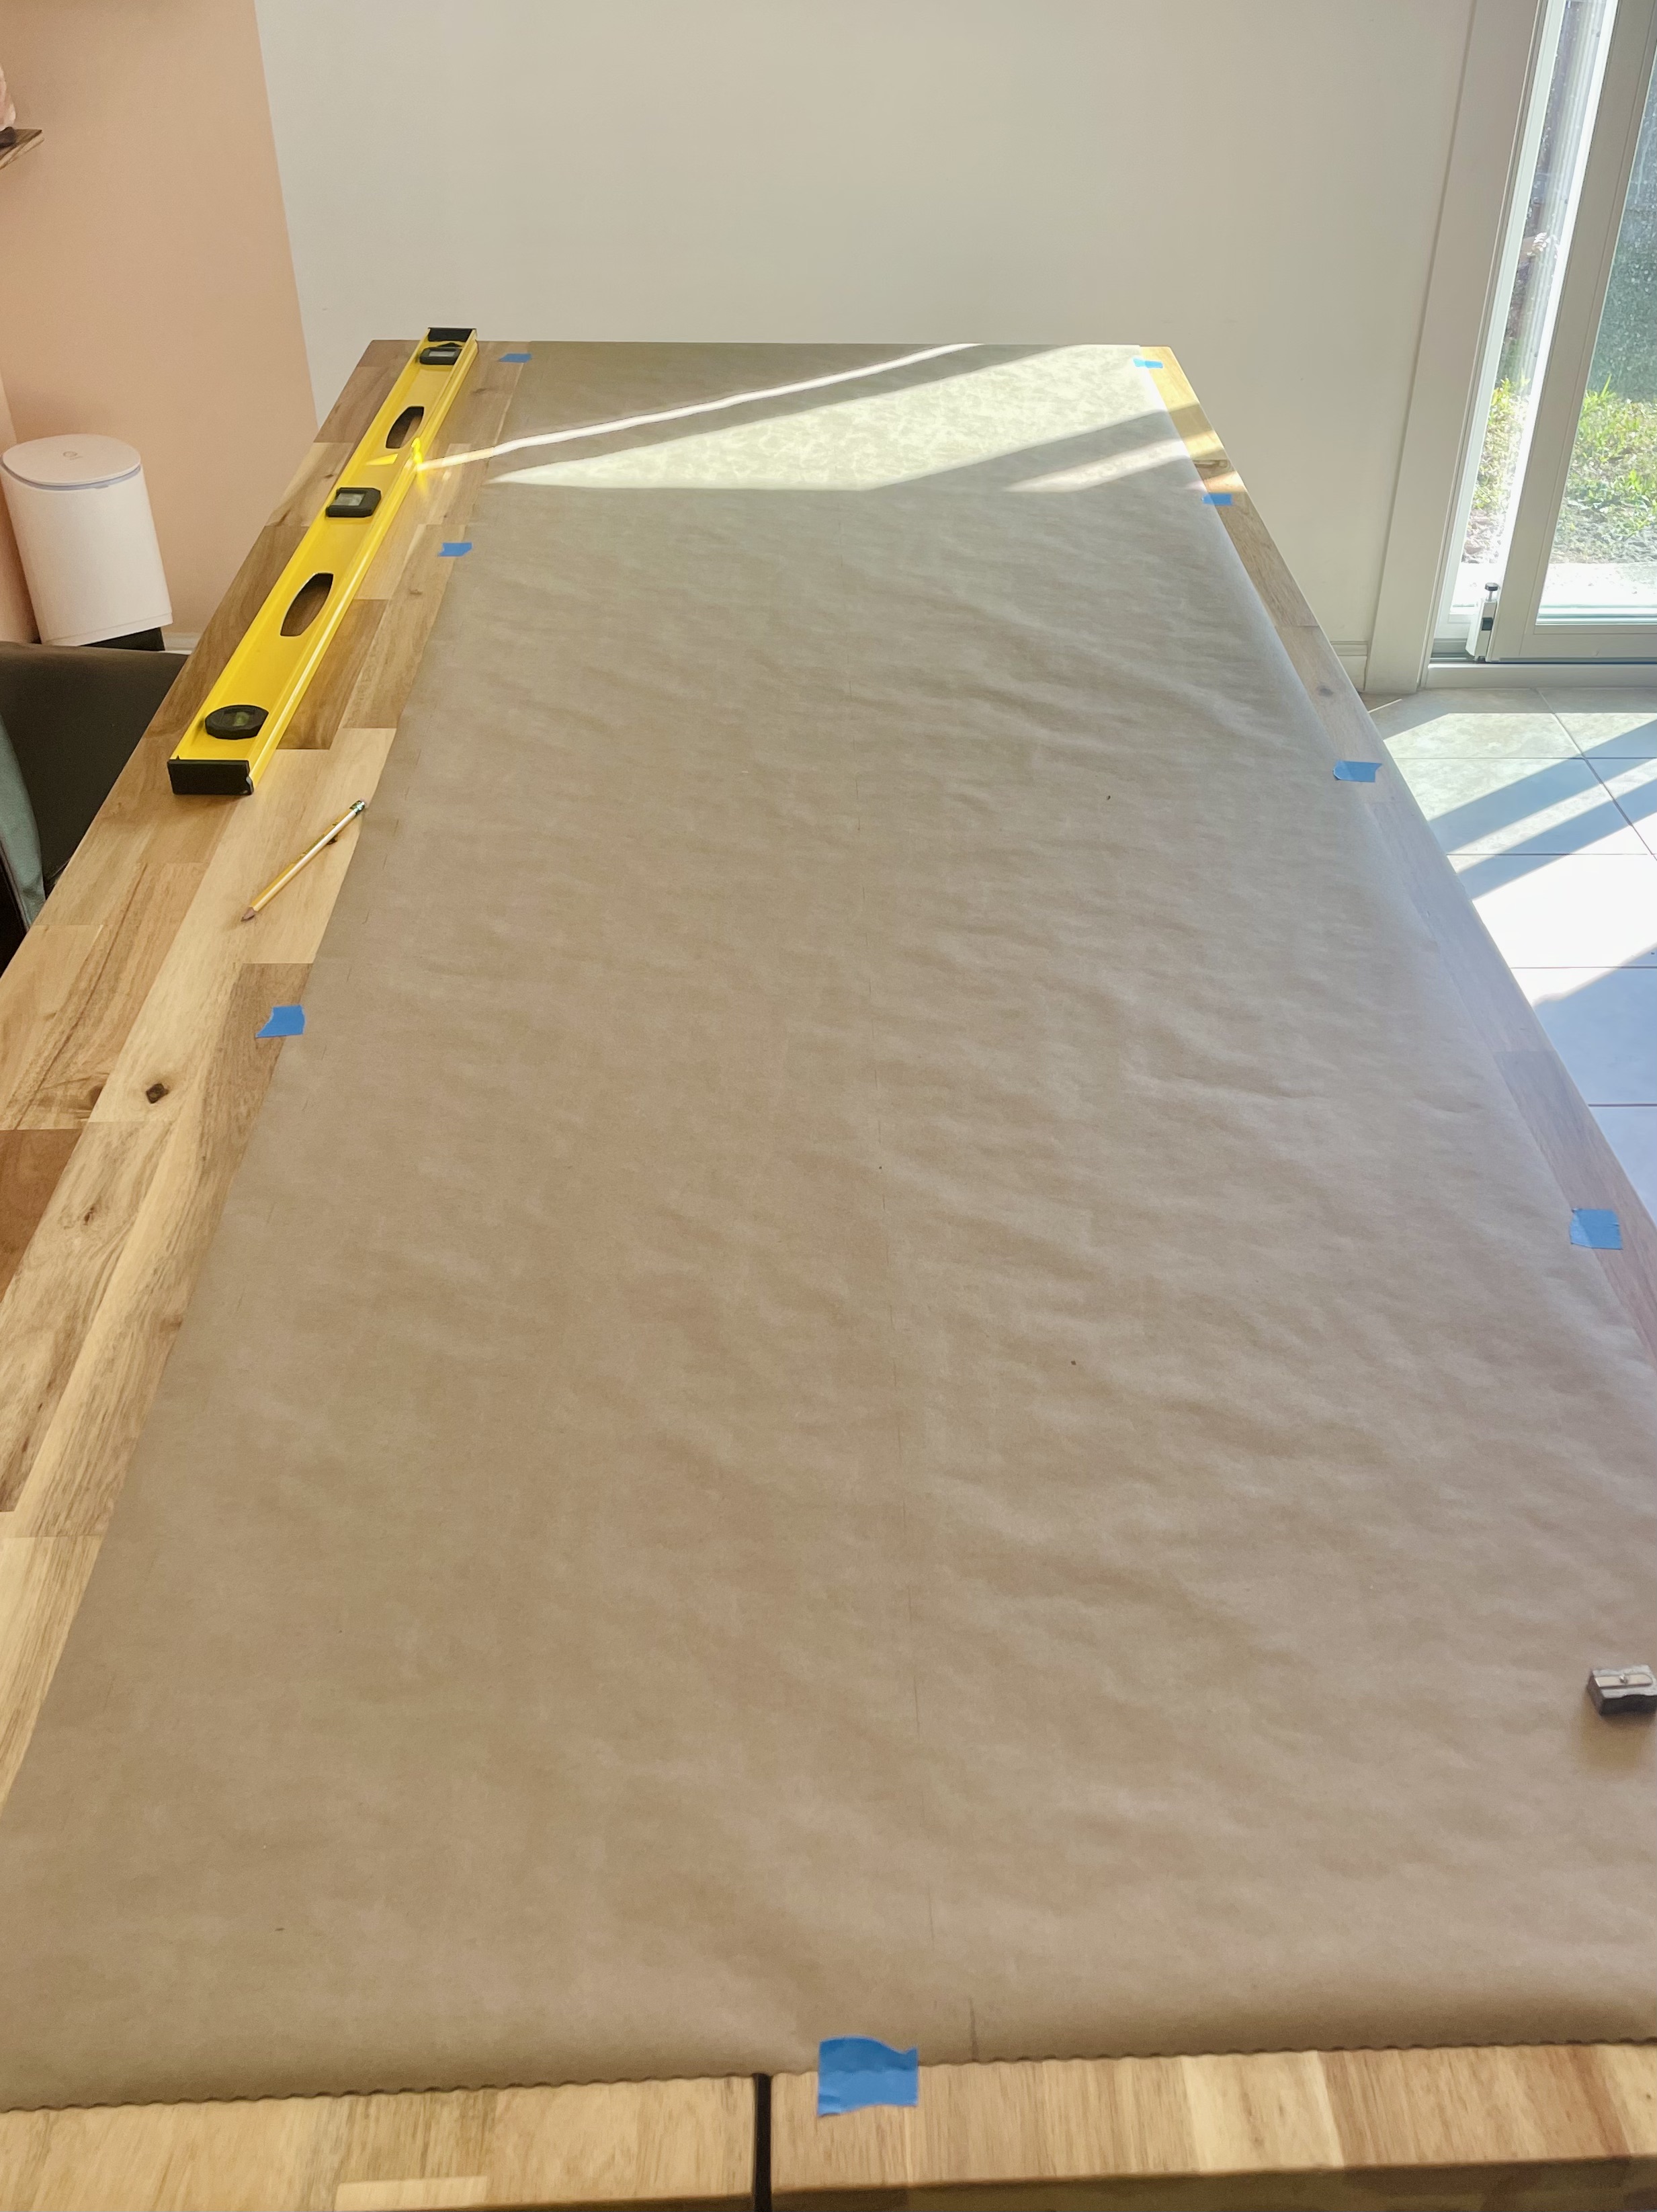
Freehand art is a skill I do not have, but I do know math. On a clean table, I unrolled about 8 feet and started to measure about an inch away from each side. I marked a light dotted line length way down the middle of the paper. I wanted to create two rows of words.
The 4-foot level really came in handy, but a scrap piece of wood and a small ruler or measuring tape would also have been enough.
After a couple practice strokes, I decided on a 2-inch letter thickness.
Letter-by-letter, I worked through H-A-P-P-Y B-I-R-T-H-D-A-Y, leaving an inch between letters. I used an entire eraser just going back and moving lines that looked weird.
In the second row, I measured out Ethan’s name and exclamation mark, making sure it was all centered.
Throughout a work day, I might step away from my computer to refill my coffee, or take a lunch. I use those opportunities to add a letter or two. It was ready to go after about an hour of work.
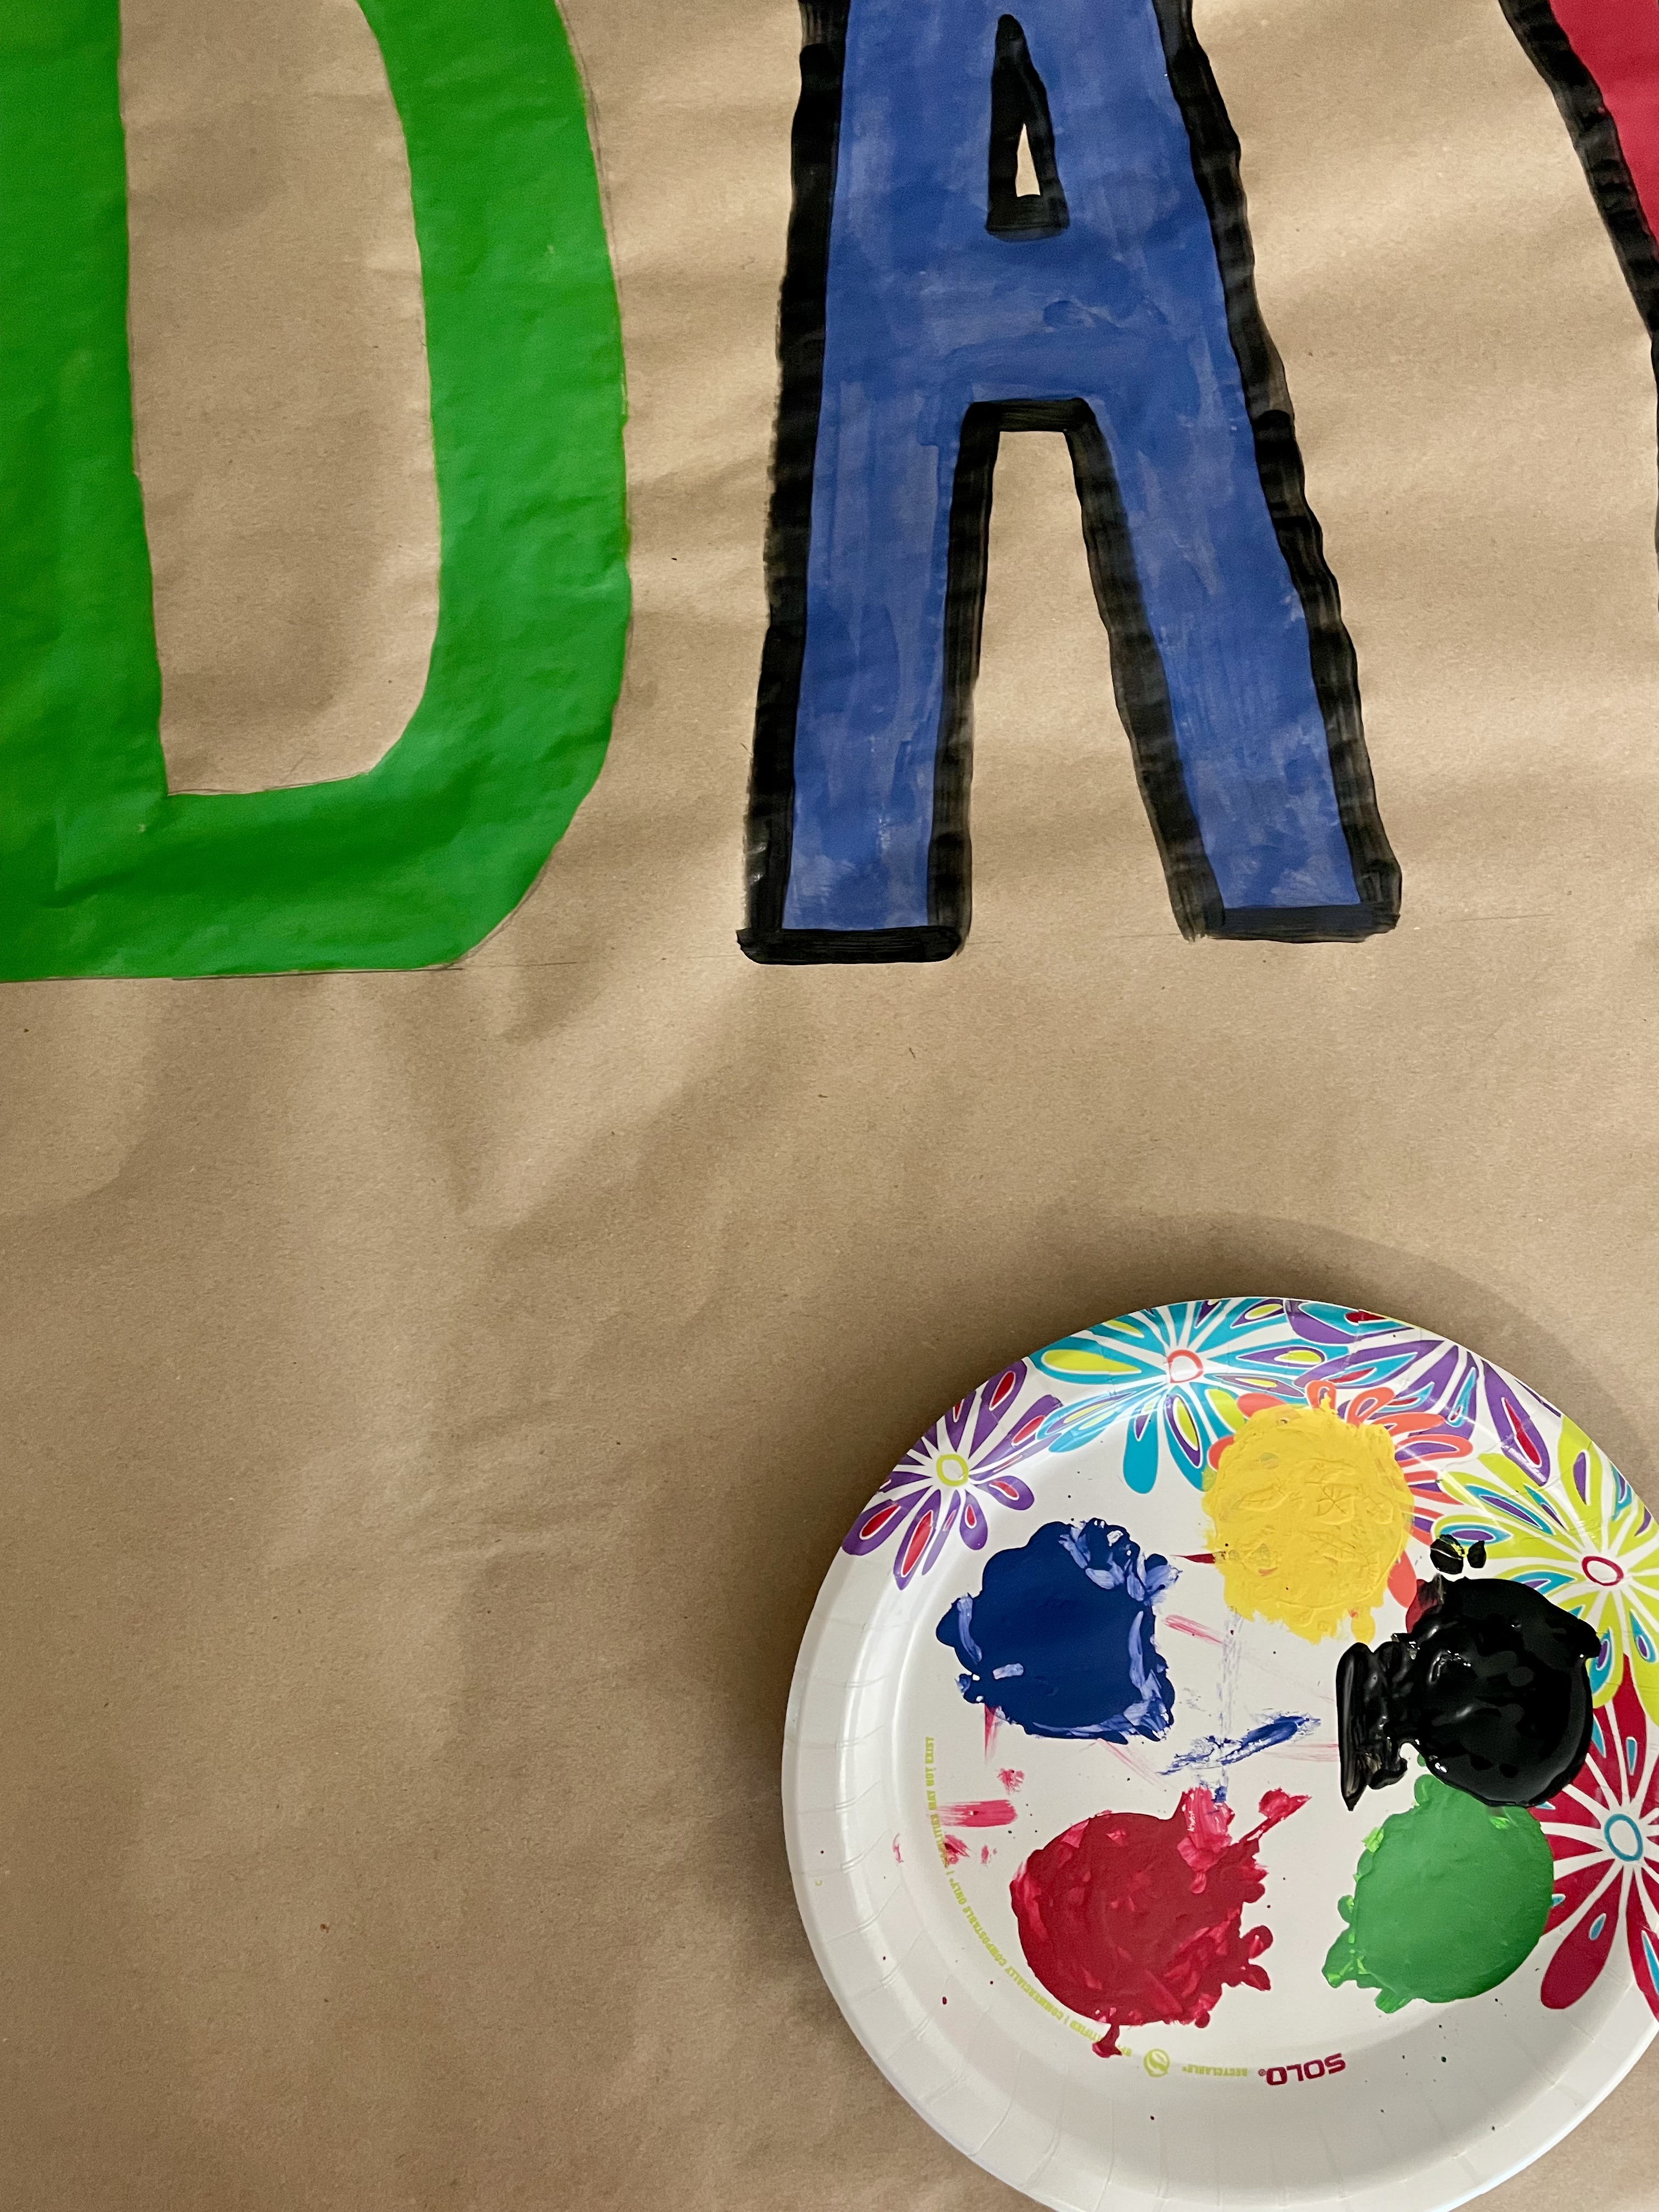
Fortunately, our countertop was large enough to unroll most of the banner at once. I used acrylic paint I had on hand from projects over the years. I worked on this in the same way as drafting the letters. Painting a letter or two at a time, letting them dry before adding a black outline to each.
In hindsight, I wish that I had used the black to create a slightly darker shade of each color to use as an outline. This looks great as well!


To help the banner look finished, I added some cutout balloon shapes to each side with ribbon. I used a few small folded-up pieces of card stock to create a little space between the banner. It gave a little distance between the cutouts and the background.

In the end, this is the perfect backdrop. In the week leading up to the party, it was the background of most of my Google Meets for work!
Balloon/Flag Garland

This started as a simple plan in my head, but I kept adjusting and getting more invested as I went. Both are great options!
The balloon garland is adorable, but if you don’t love the process, I would suggest jumping to the flags.
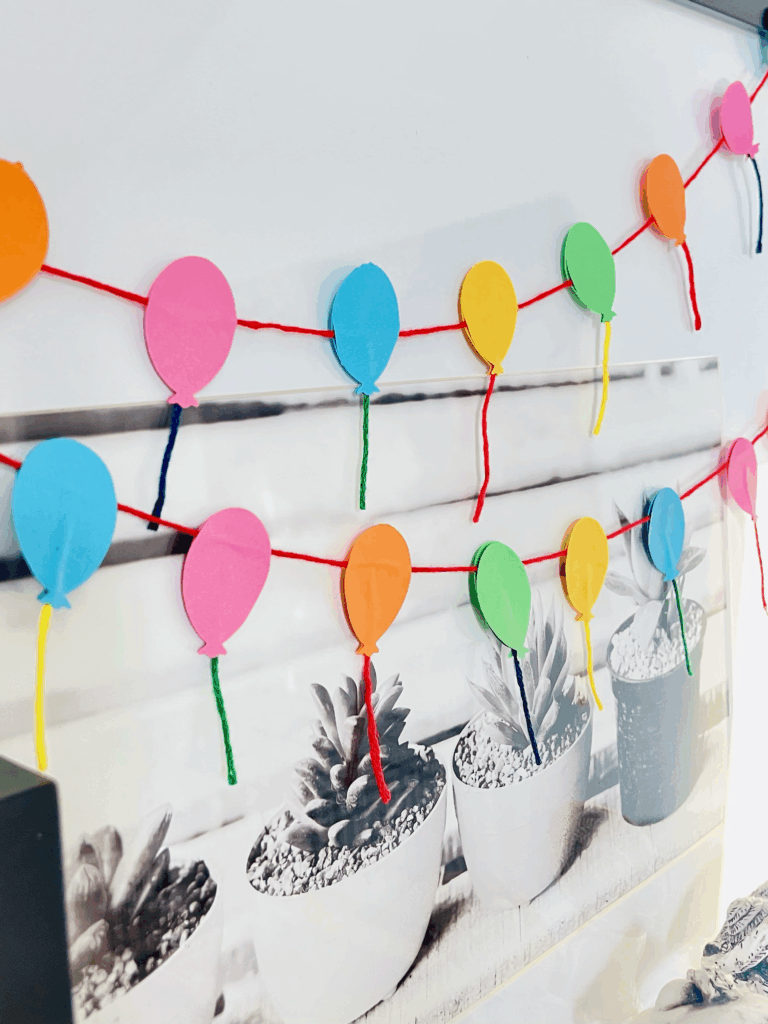
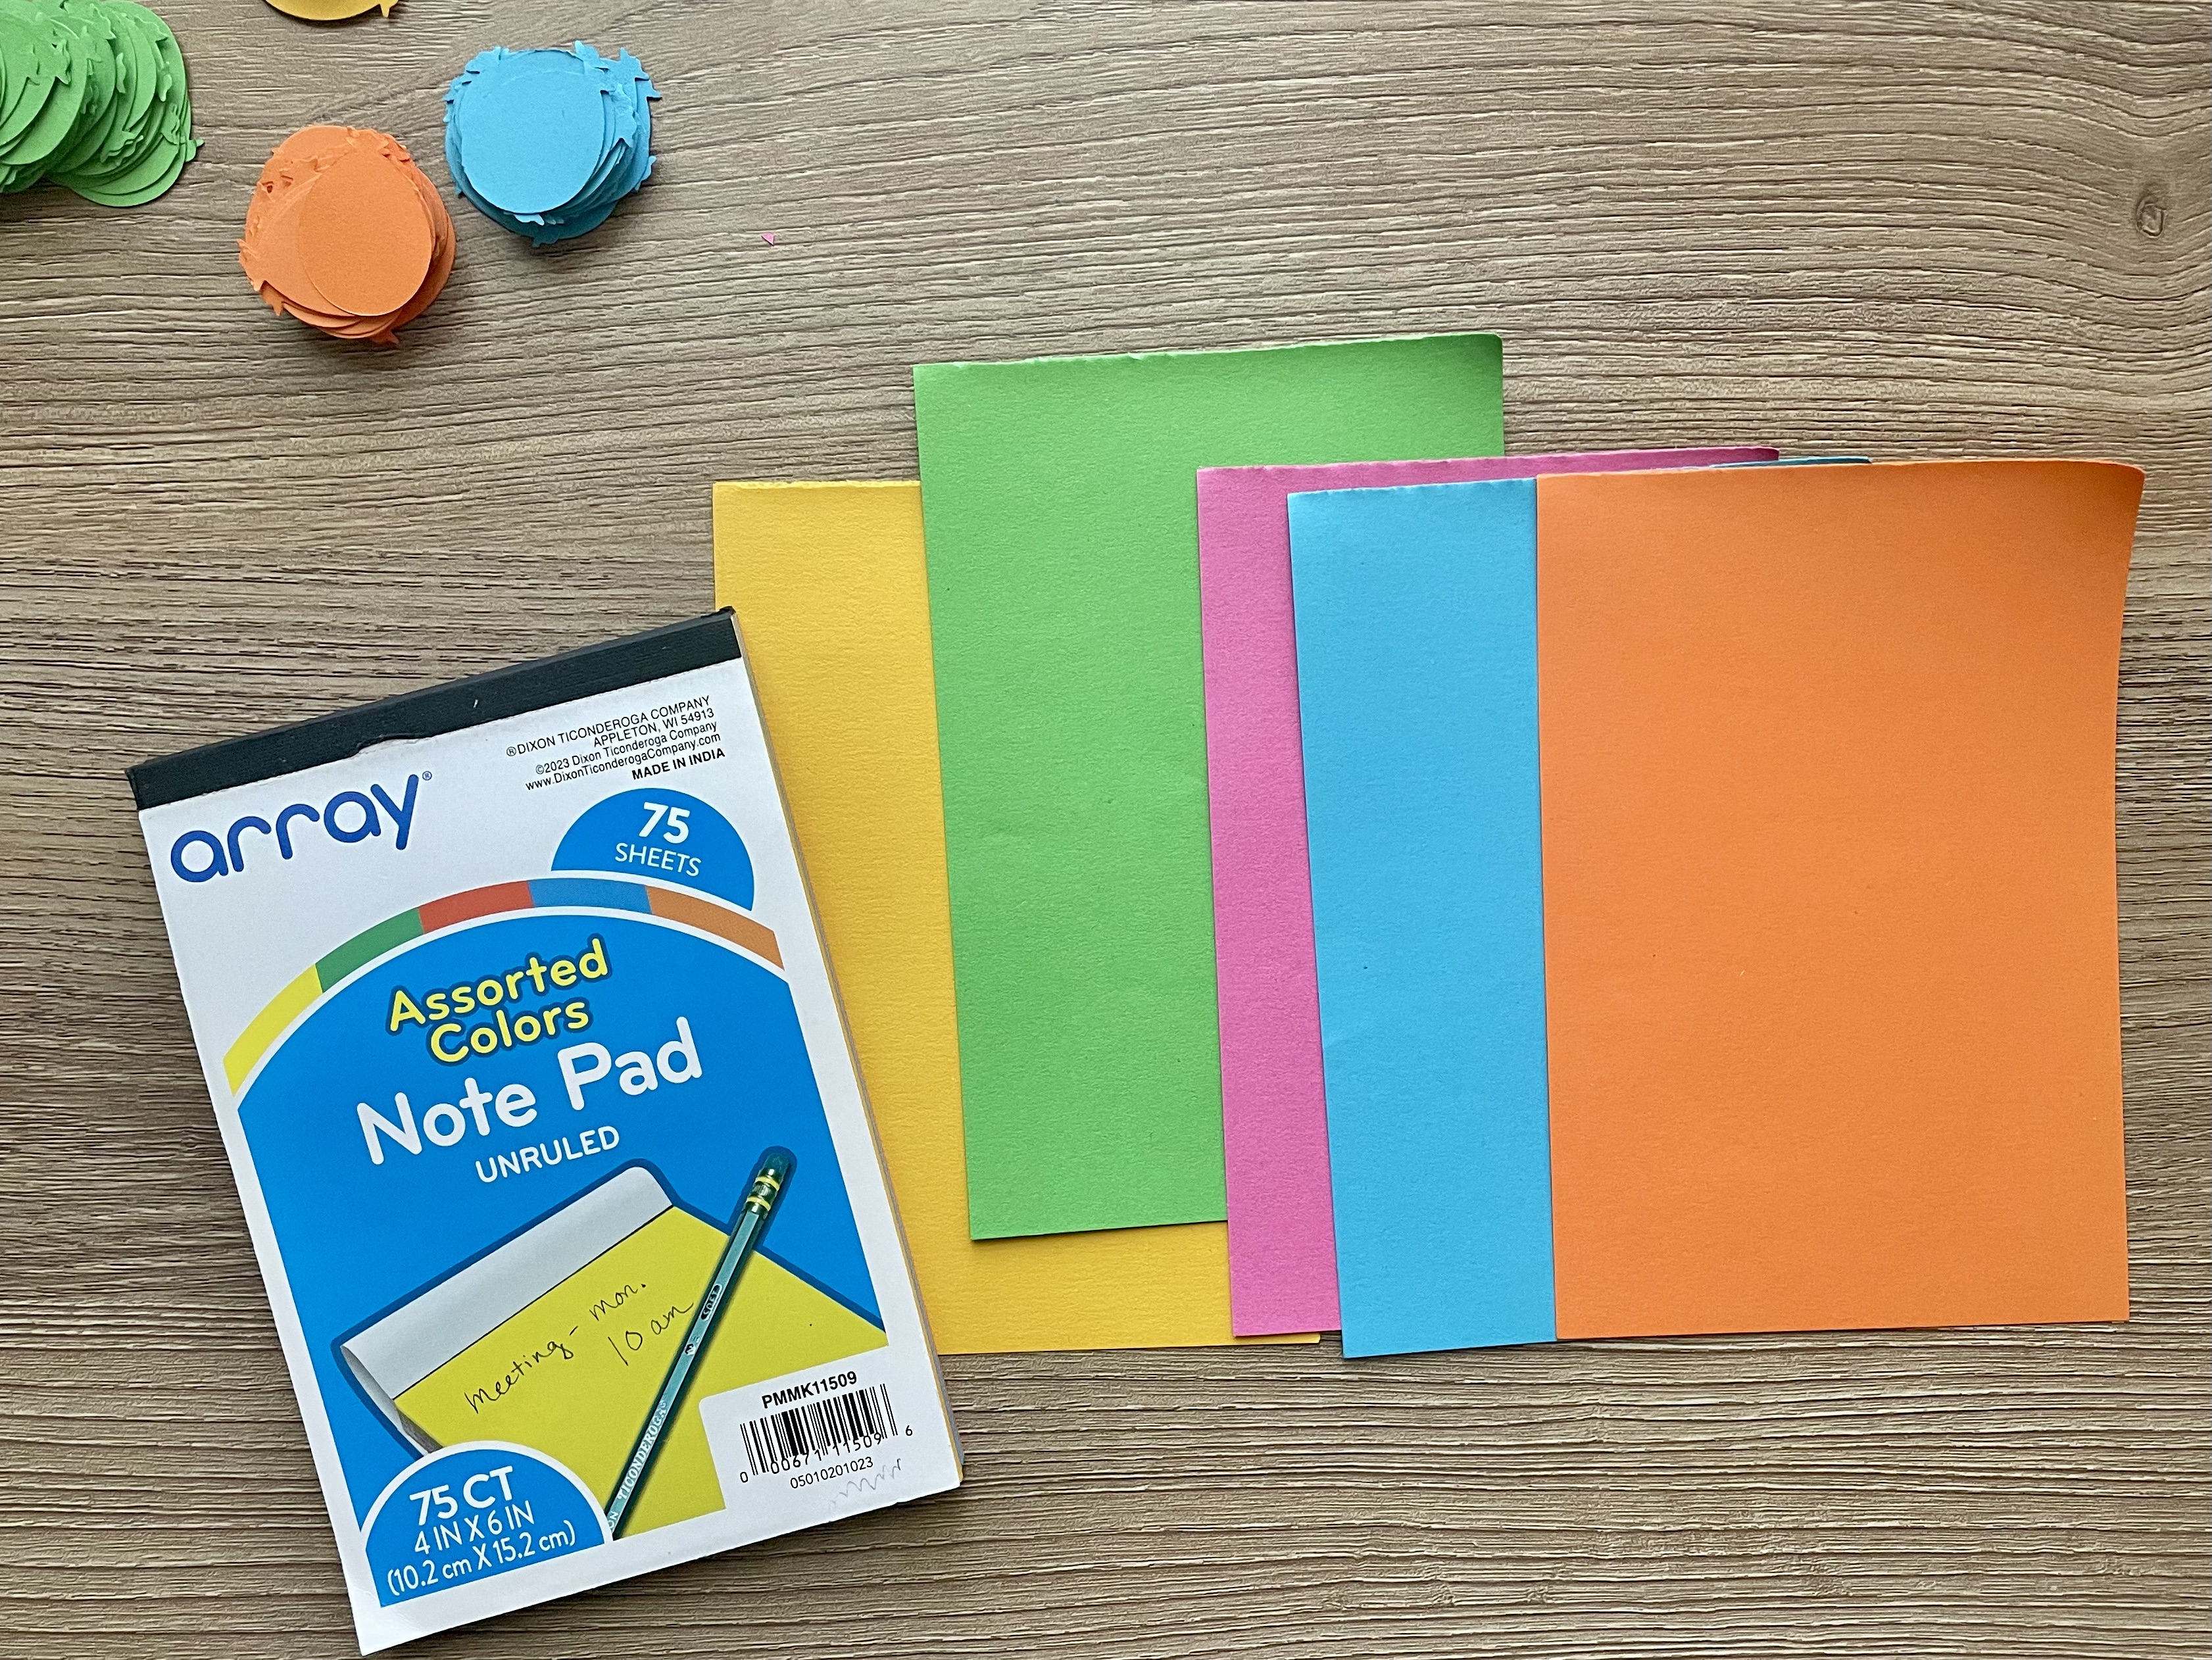
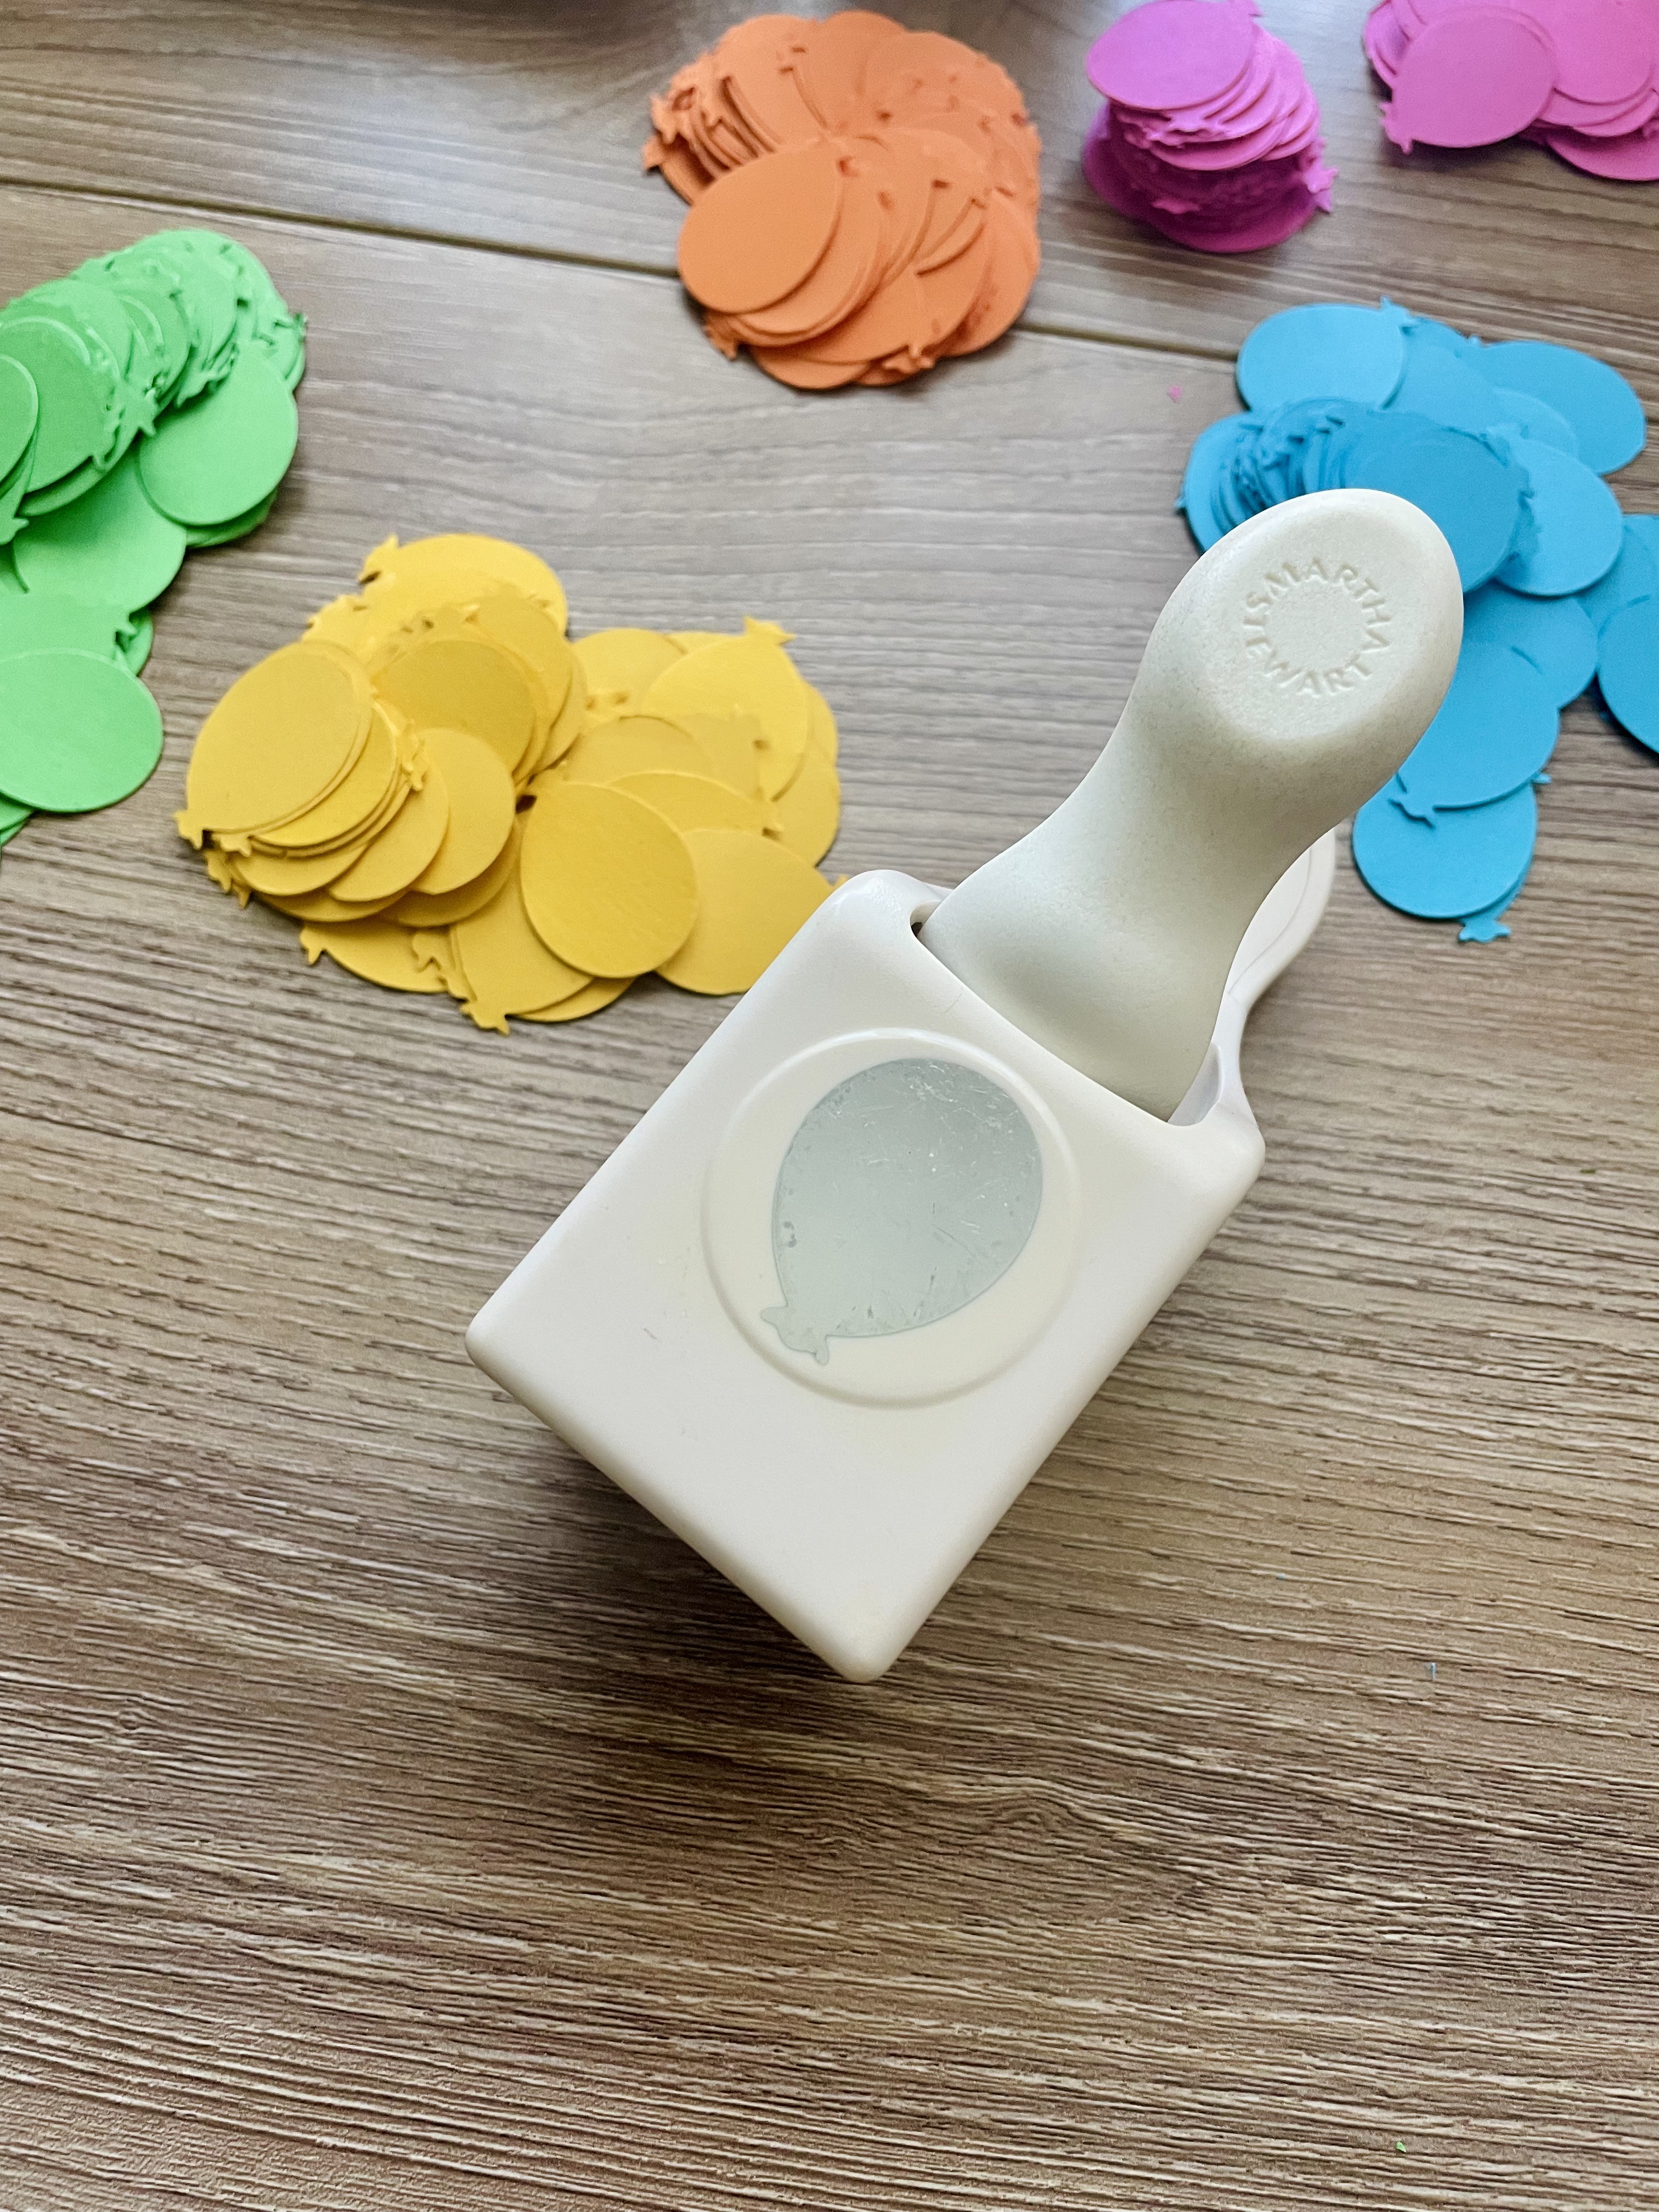
I started by digging through a bin of craft supplies for some fun-shaped paper punches. One of which fit this celebration – Balloon. With some extra embroidery thread, things quickly progressed and I found a new project to fill my lunch hours for a couple of days.
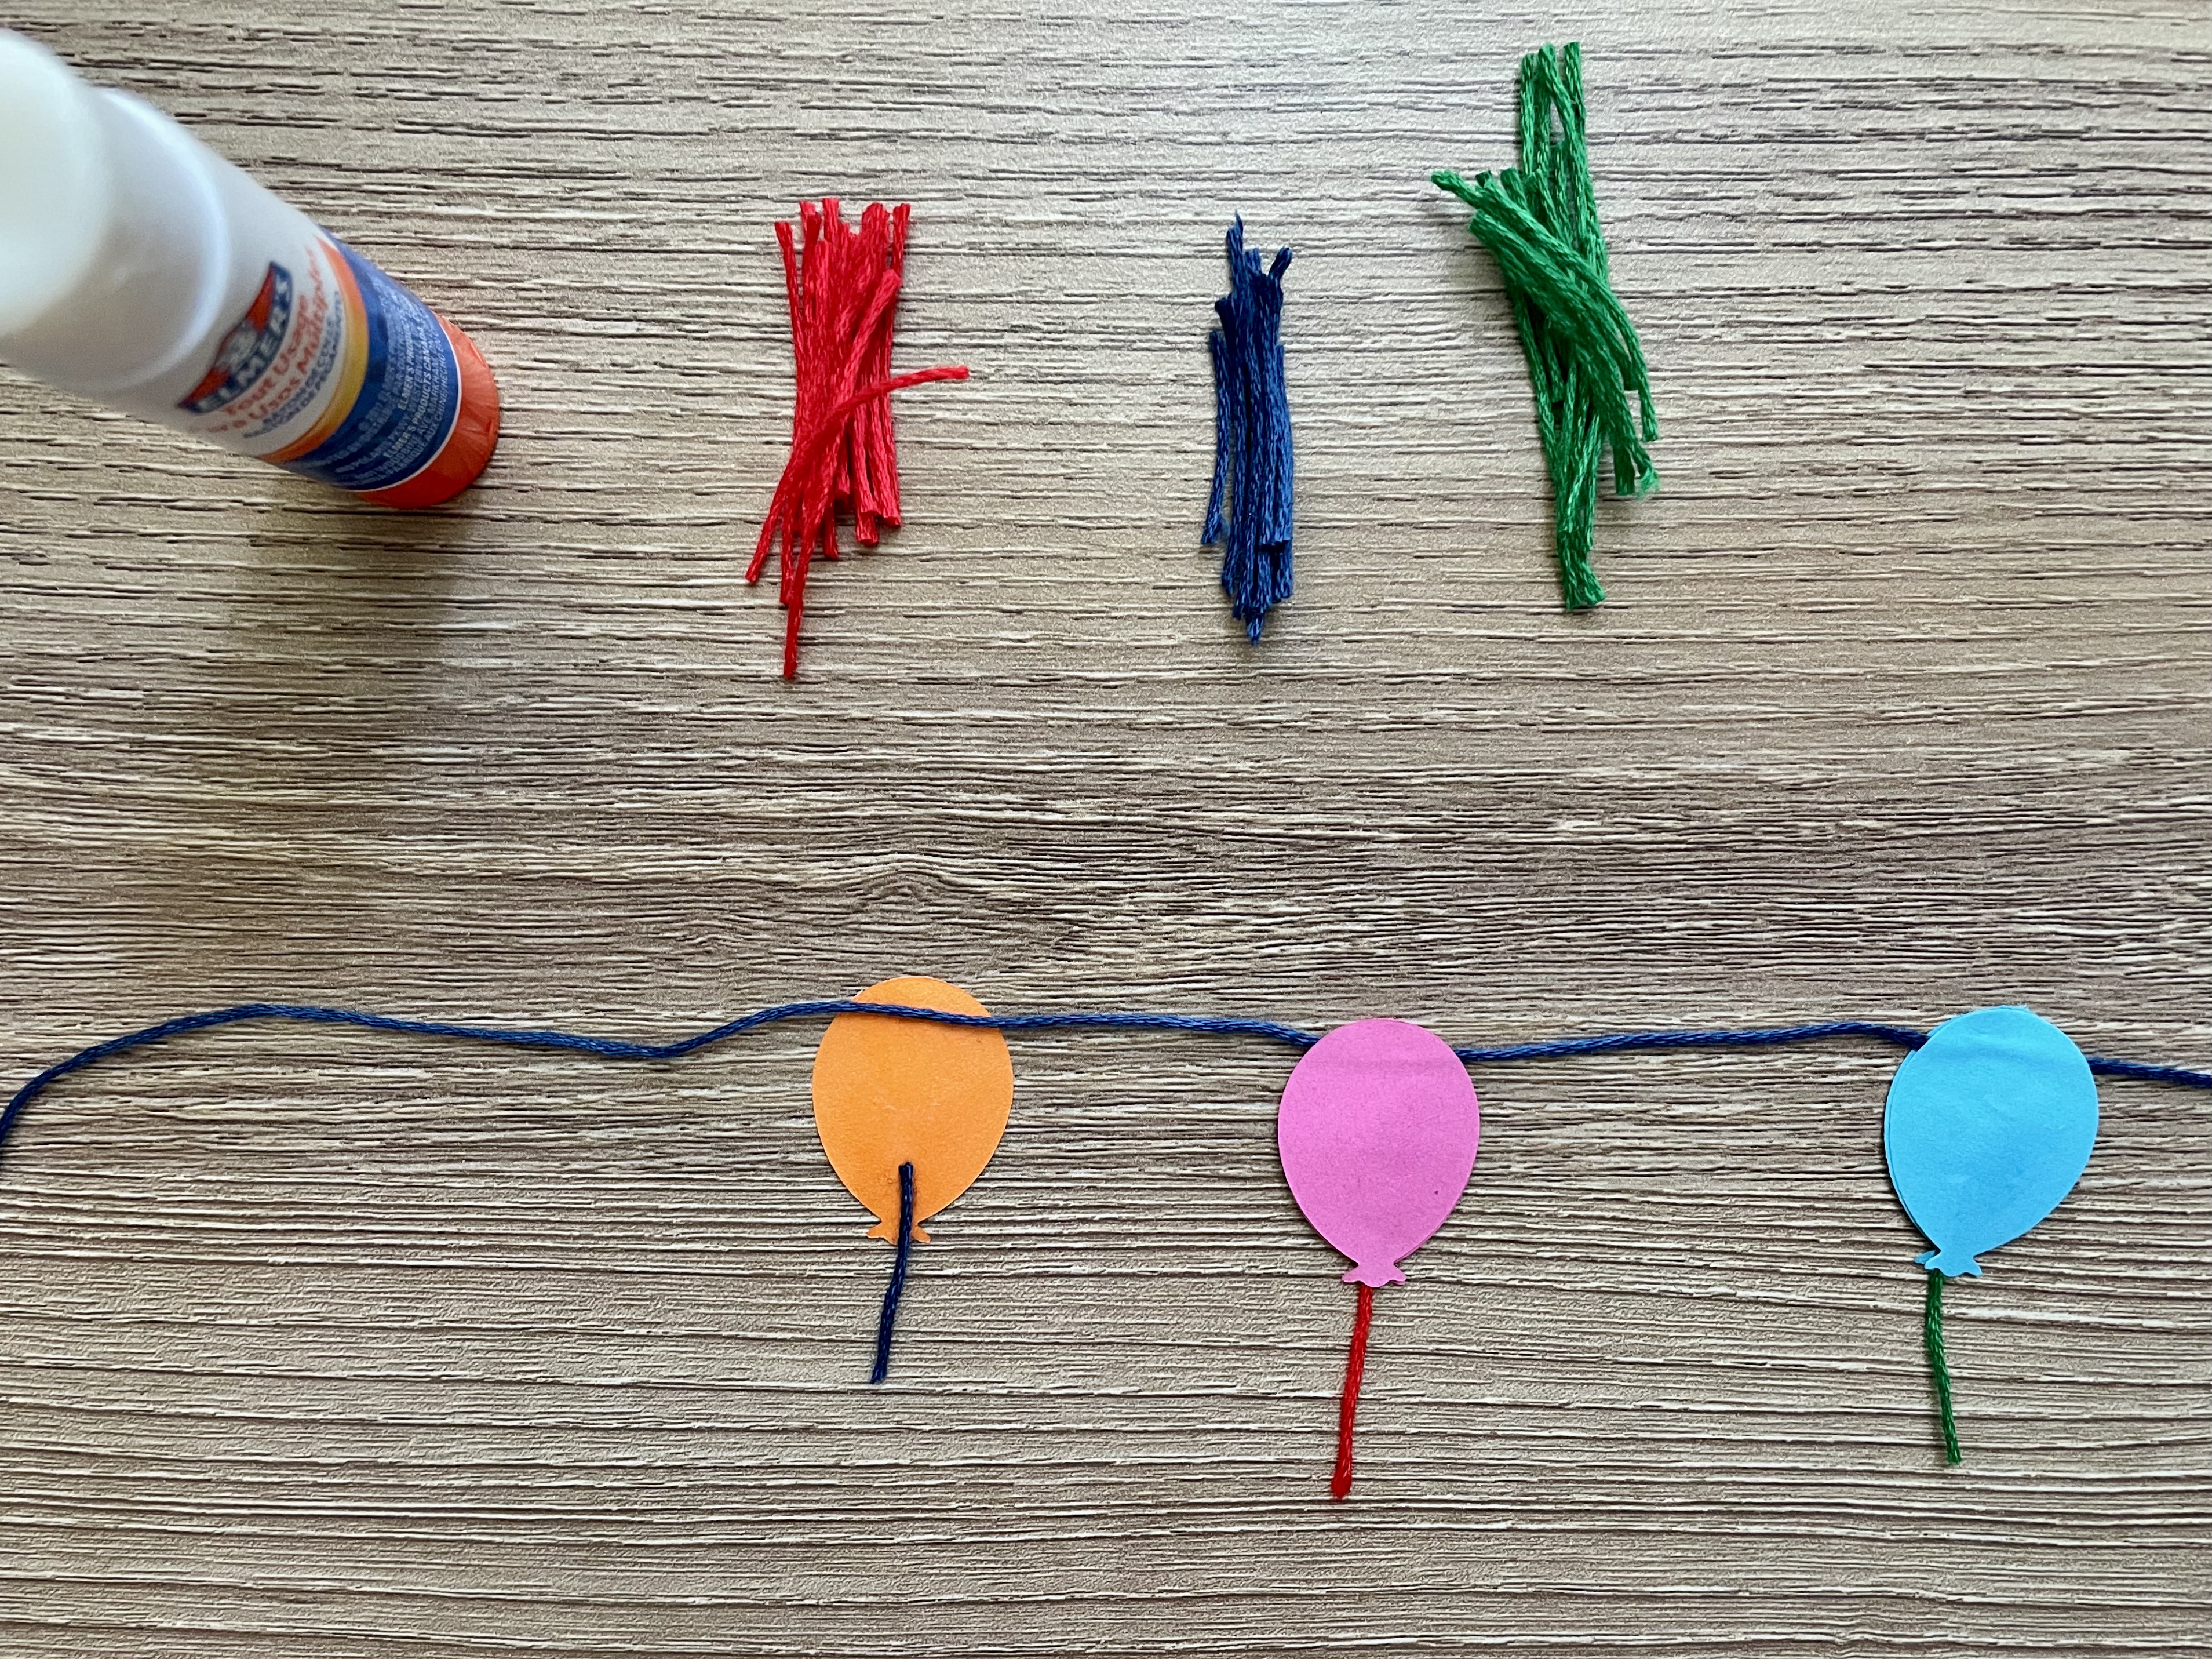
The next part was great for zoning out. I added glue to one balloon, placed a ribbon at the bottom, and placed the garland string towards the top. I added glue to another balloon and stuck it to the other side, sandwiching the strings between.
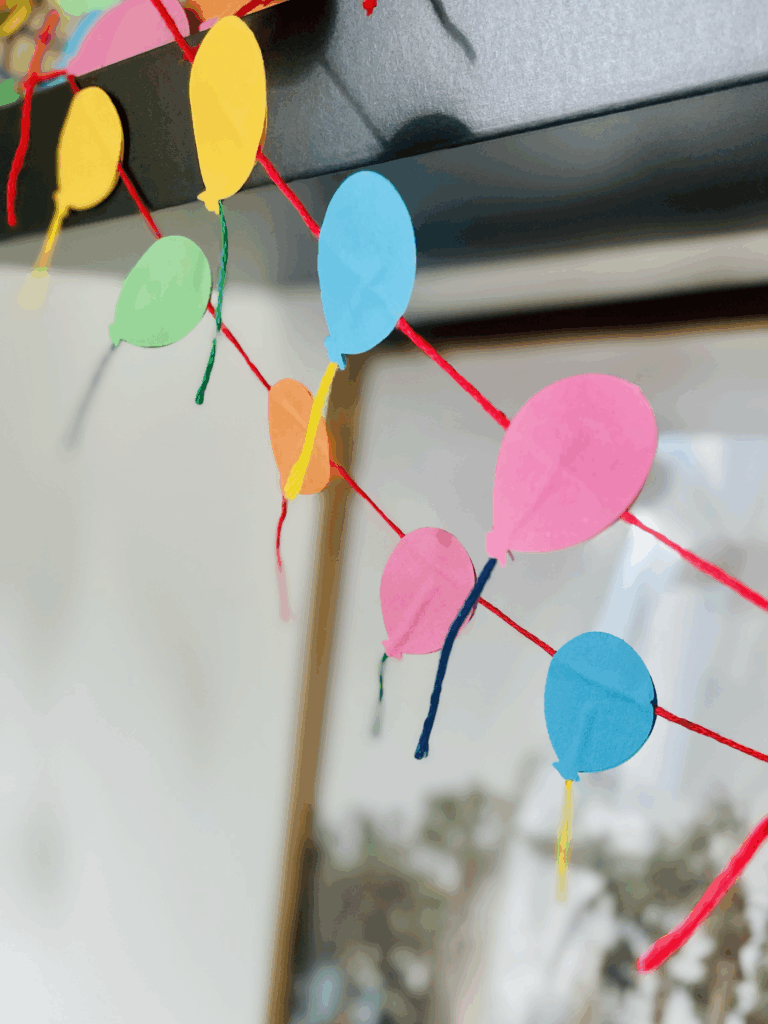
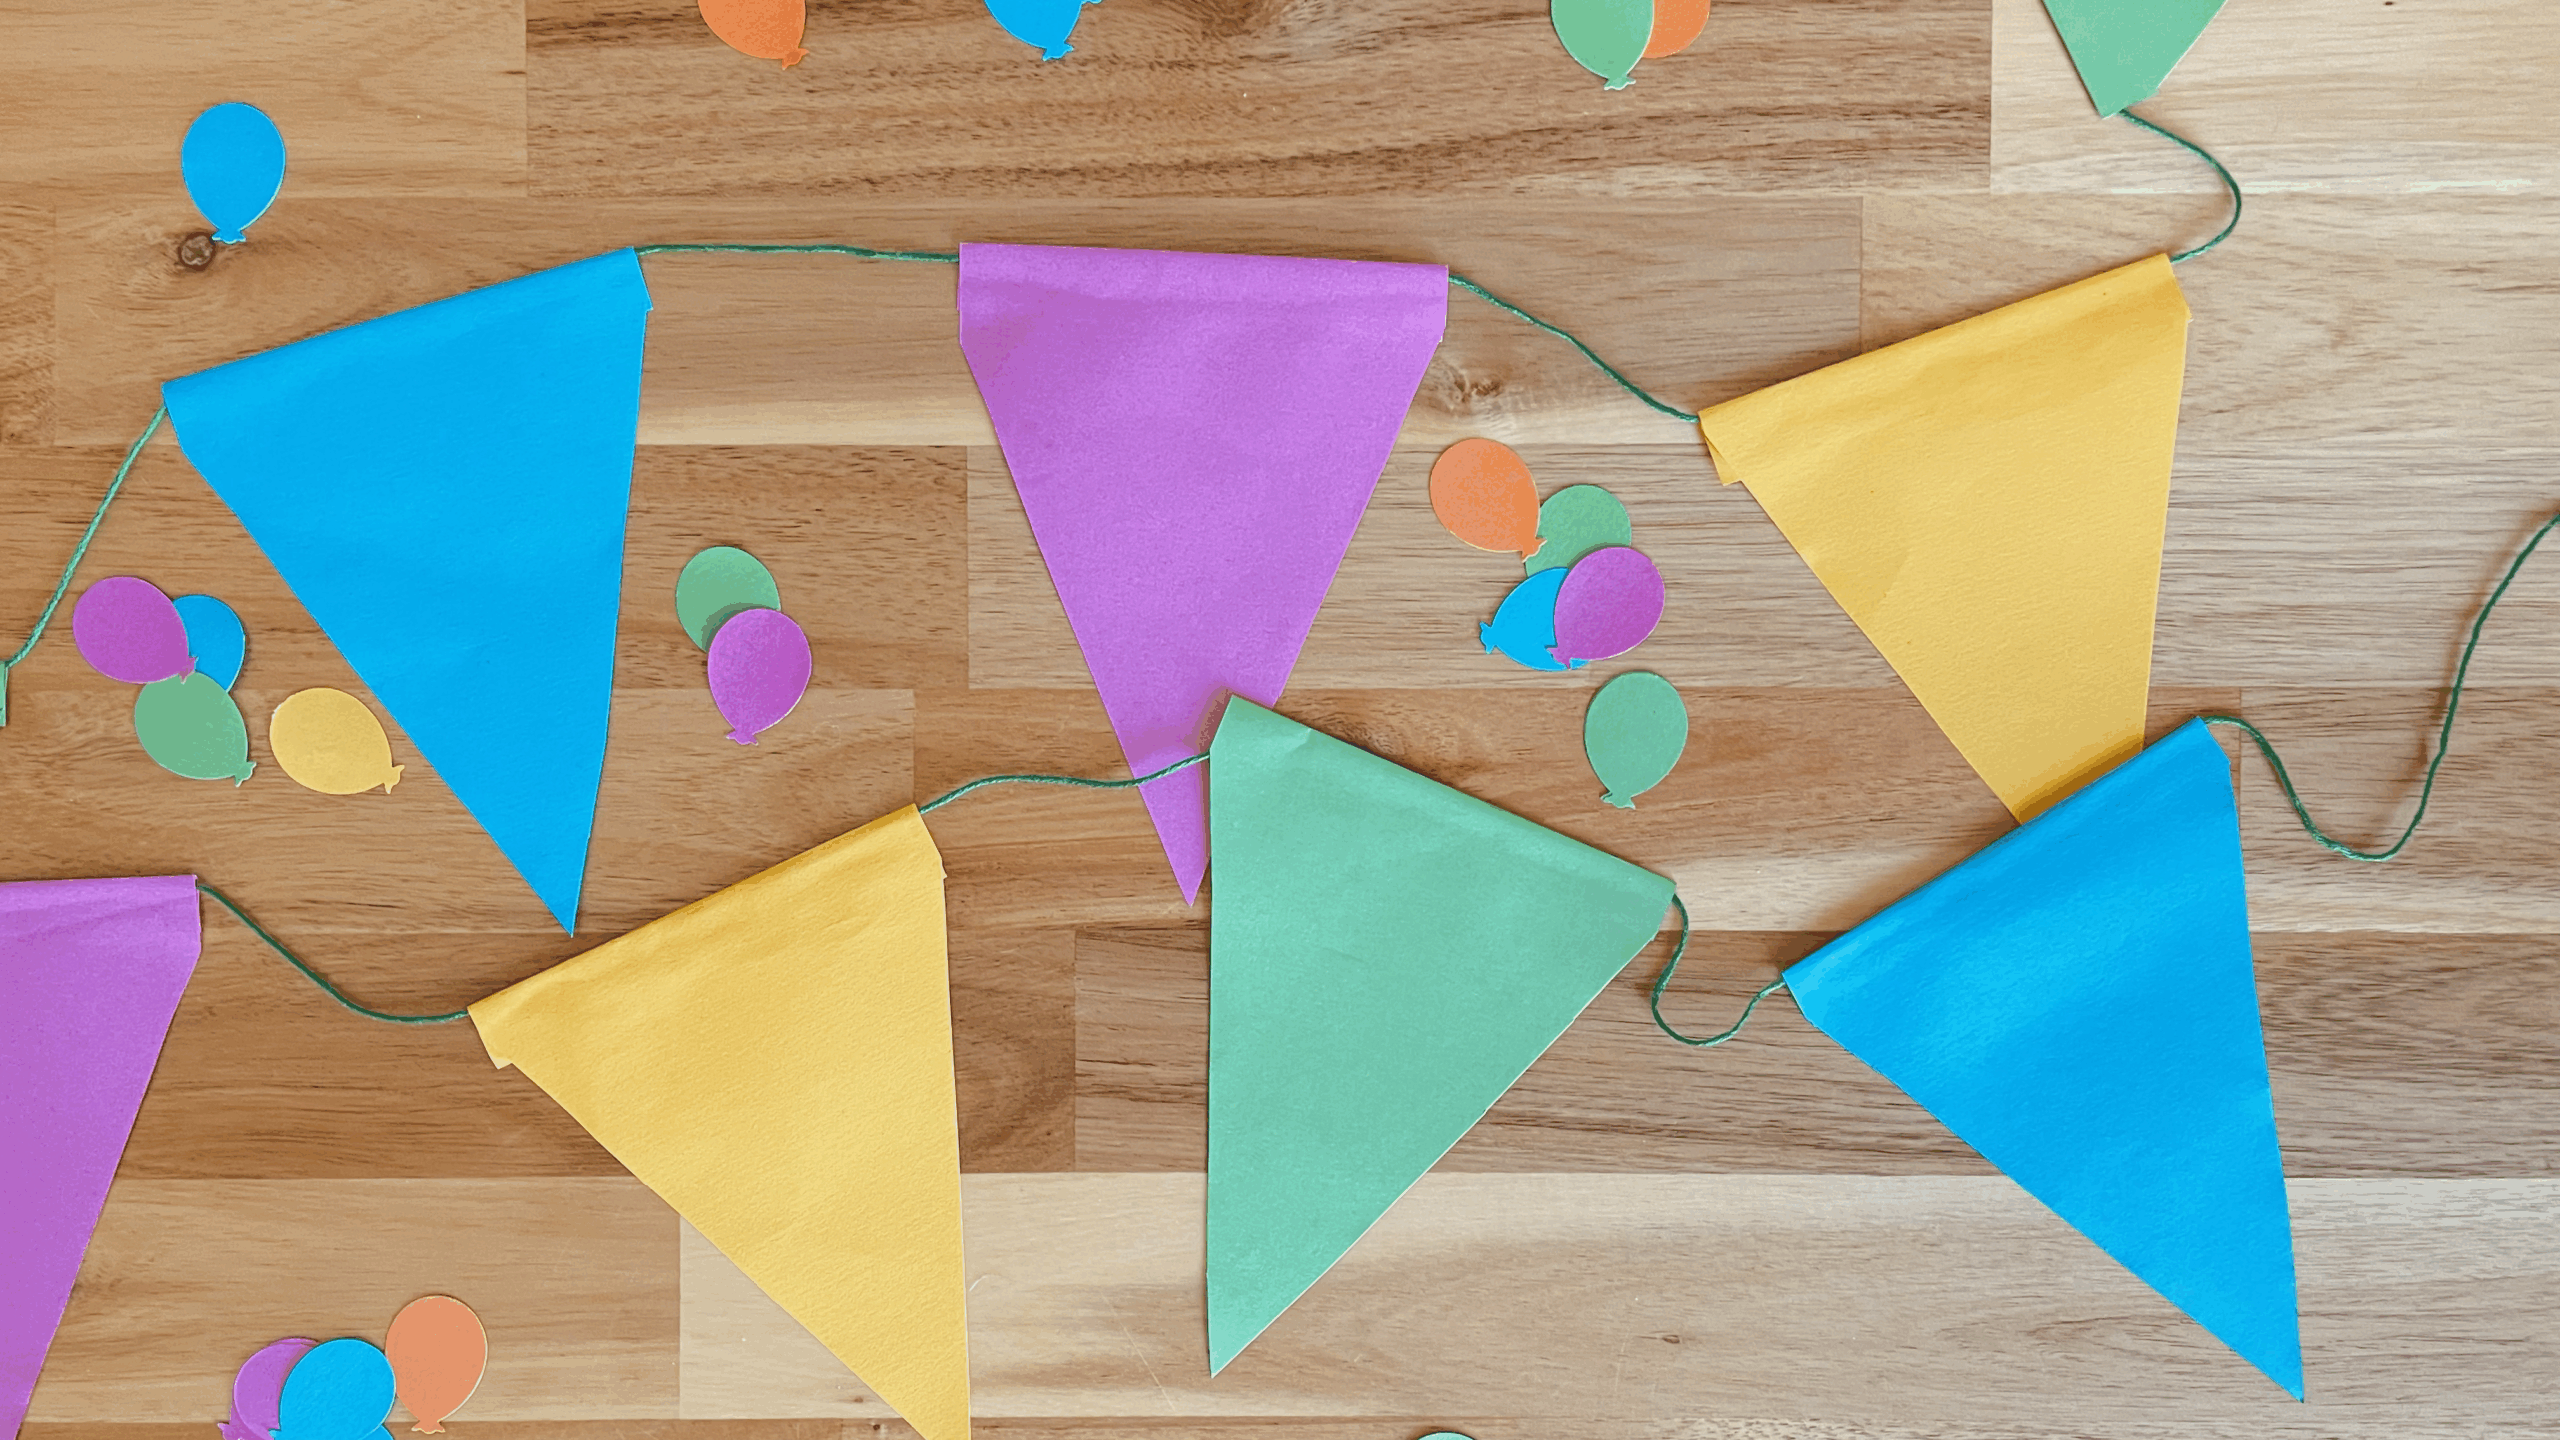
After completing two strands, I wanted to try something less time consuming with the supplies I already had.
Stacking up a few sheets at a time, I cut at a diagonal leaving a small portion to fold over.


Once you’ve done a pre-fold, add some glue and fold over the embroidery thread. A full strand of flags took less than 5 minutes, and is almost as adorable as the balloon garland.
The Anything Birthday Party Craft

Our oldest son went to a school that was centered around Waldorf education. There are so many things to love about that style of learning. We really connect to the idea of a mostly outdoor day, independent play, and helping his imagination flourish.
On our first school tour, the director encouraged parents not to dress children in anything with a recognizable character. I thought that was a a little crazy, but then she explained.
Think about your child’s favorite character, we’ll go with Marshall from Paw Patrol. Marshall acts a specific way on the show, and there is only 1 Marshall – that’s part of the appeal!
Now, picture a room of 10 kids. Ask “who wants to play Paw Patrol”, the main character slots fill up real quick. This leaves the other kids disappointed, frustrated, and disengaged. If instead, you ask who wants to pretend to be puppy dog heros, the options really open up. Each child has a choice of what kind of dog they would like to be and with what super power.
It seems like a simple concept, but it really stuck with me. It helped when I started to consider the craft.


To start, I used what I had on hand. A large ball of twine, a variety of beads, and branches from a small tree we just trimmed back.
Initially, the plan was nature wind chimes. My thought was to pre-tie a few strands to each stick, thinking kids could come up and just add beads. As always, I decided we needed a test run, and Jay was happy to volunteer.
He was briefly interested, but then frustrated when the twine started to separate making it difficult to get beads on. We decided to take a break while I brainstormed a little more.
I think it would have worked well with those yarn needles, but I didn’t have any on hand. The second option was pipe cleaners, and those I had a lot of!
Our next attempt went much smoother. He threaded beads on a string or two, but really enjoyed twisting around pipe cleaners and adding beads to those.
At the party, I set out yarn, twine, beads, tiny wooden charms, and pipe cleaners in all different colors. We got some cute wind chimes!
But, we also got so many other things!
- beaded pipe cleaners bent to look like worms
- Bracelets and anklets
- Nature wands
- Stick Ribbon Streamers
I wish I had some pictures of all the different creations, but trust me when I say it was a popular table!

Food and Sweets

In the past, we have definitely shown off a little with birthday party menu. I’m manage to get my wife to grill on multiple occasions, there were sliders once, and wings. Always a lot of sides and always a lot of leftovers.
It was delicious – but so time consuming. One of us was always watching the stove or the grill. Food was either out too early and cold, or we missed the mark by like 30 minutes and guests were starving.
This time, we decided everything needed to be easily refillable, and require minimal effort to prep.
Pizza. Yep, we did it for a first birthday, and we have no regrets! A dozen pizzas, a little over $100, but we got to spend so much more time mingling with guests. As a perk, we had been using pizza in our monthly pictures with E, so it really fit the aesthetic.
Then we just picked anything easy to grab. Plenty of fruit and veggies, chips and dip, and a very kid-friendly lazy susan.
The cake was funfetti, and I used a circle cookie cutter to cut the center out of the two bottom layers. I wanted to fill it with sprinkles. Conveniently, I used those two cutouts to make a smash cake for E! Then I covered both cakes in sprinkles.


Treasured Birthday Tradition
It’s probably just my anxiety, but when J was born, I was very focused on starting traditions. Somehow in my mind, I thought if we missed any of those opportunities we were failing.
Turns out, anything can be a tradition. Also, nowhere in the definition does it say you need to start from birth. Mind blown, I know.
So we have two that I am really attached to. One is geared around Christmas, but the second is birthdays.
Each birthday, I choose one thing from the event (it doesn’t need to be anything big), to save. J’s first birthday was all Dinosaurs, and I found these cute dino mirrors to use on the food table. I had them in his room for a while, but when we were done displaying them I decided to keep them. This is where to idea began.
Each of the boys has a bin, and as birthday’s go by, we keep one little thing from each celebration. I imagine celebrating their 18th Birthday, and decorating with everything from earlier years. I’ll have to get creative as they get older, but for right now, it’s easy to pick up something small to save.
If you skipped through this, or soaked up every word, I hope that there is some inspiration for future birthday parties! As a parent, this was by far the most enjoyable birthday party we’ve thrown.