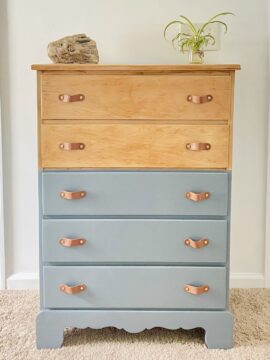
I love the idea of restoring something old to give it a new life. However, I have never really done that successfully, until now! Thanks to a friend clearing old furniture, I now had a chance to attempt a full dresser update.

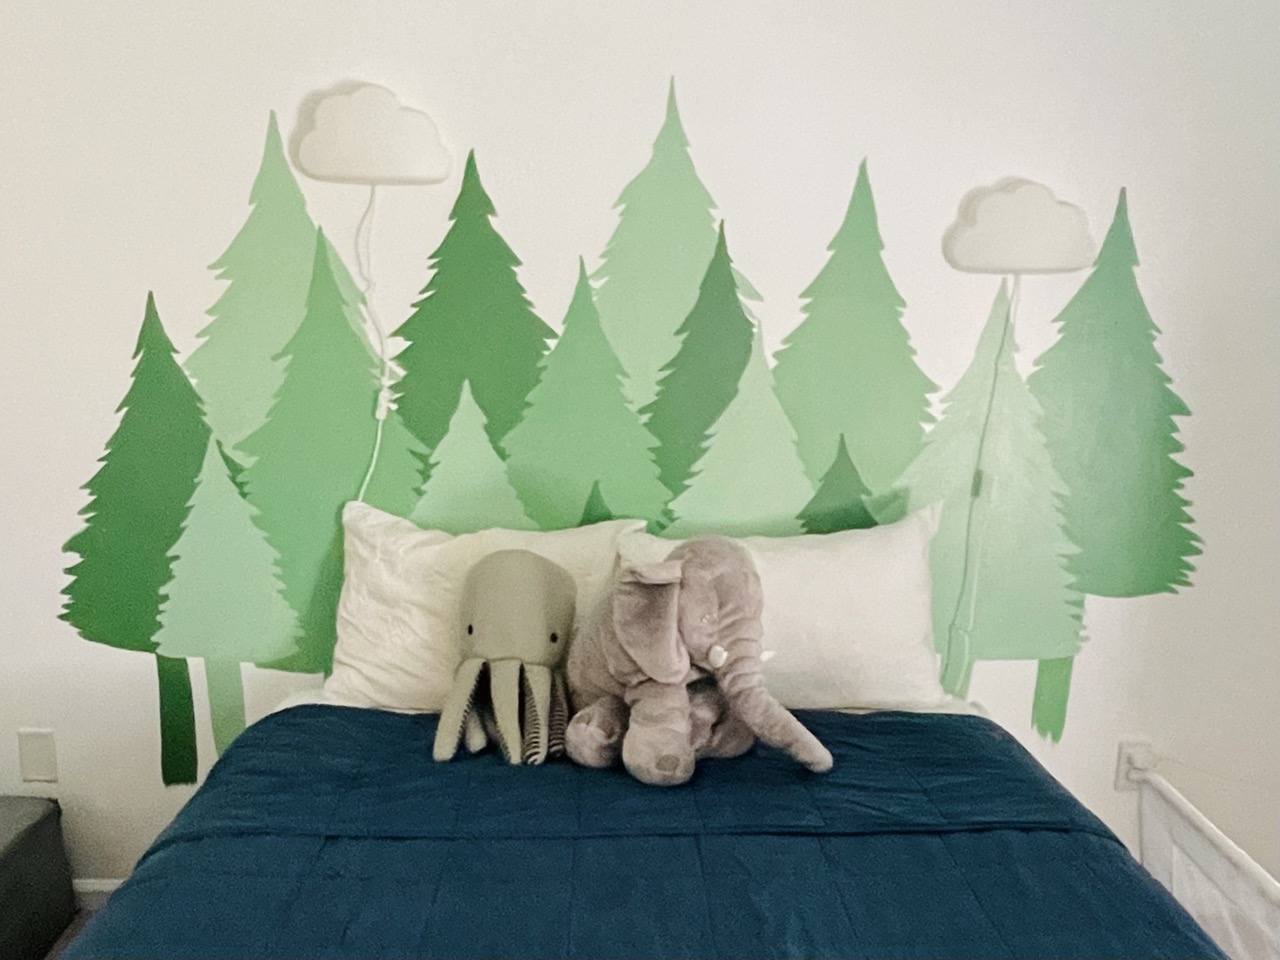
This is the start of a bigger project, making J’s room a more interactive space for an active almost-four-year-old. The rock wall is a game-changer!

Trash is not always treasure, but sometimes, it’s not even (really) trash.
Picture not being able to take out the garbage. You designate a location, probably out of the way somewhere, and start a pile.
Eventually, you run out of designated trash space, and waste starts to fill the ‘clean’ parts of your life.
This is actively happening in the US. With over 1,200 landfills, that take only 30-50 years to reach capacity. Our garbage is starting to make its way into the ‘clean’ parts of our life.
Making less trash, makes me feel less like trash.
Step 1. Strip & Sand
Some sweet friends thought of us before setting this gem next to the road, and we are very grateful!
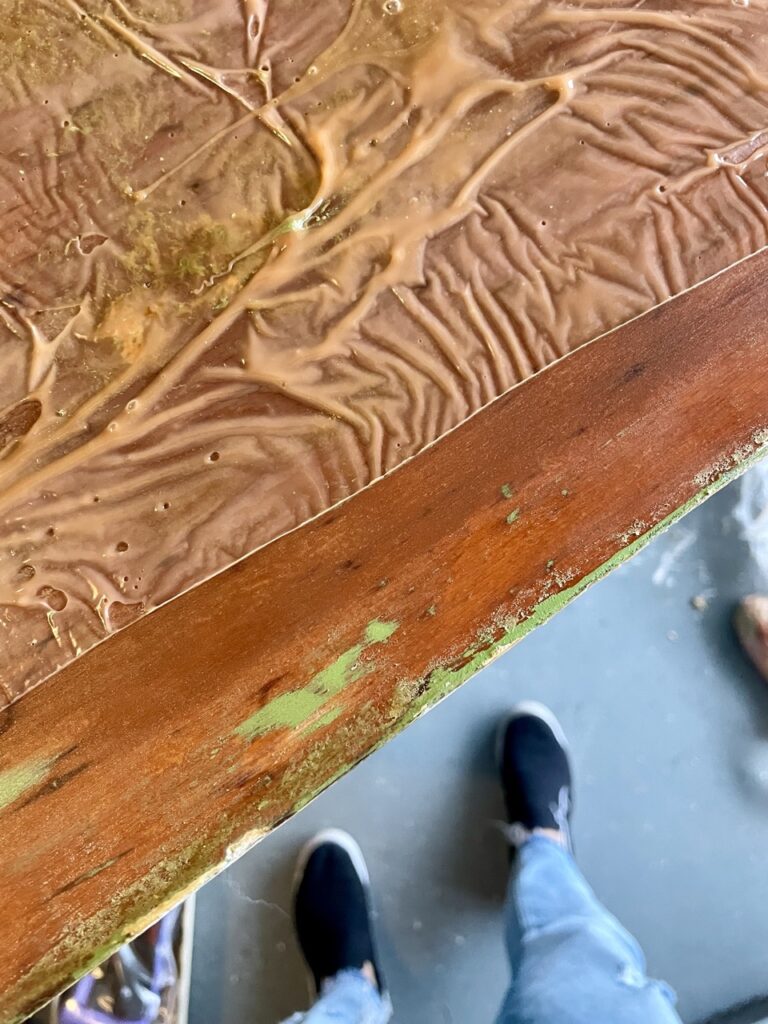
Past projects have required only minimal sanding to level the surface for a fresh coat of paint. This project was going to need something a little stronger since I wanted to take it all the way down to the wood. I decided to use a paint stripper.

I see this product used all the time on accounts I follow. The cost was reasonable, and the results always looked good, so I gave it a shot for the dresser update!
As always, I started with cleaning, mostly with a damp towel and a little steam. I wasn’t fully convinced this was going to be all wood, so I didn’t want to get anything too wet.
Next, I applied a very generous coat of the stripping gel and walked away for a bit.
After waiting about an hour, using a plastic scraper and one long swipe across the top, I scraped off 3 layers of old paint.
As a perk, it was super satisfying to do.
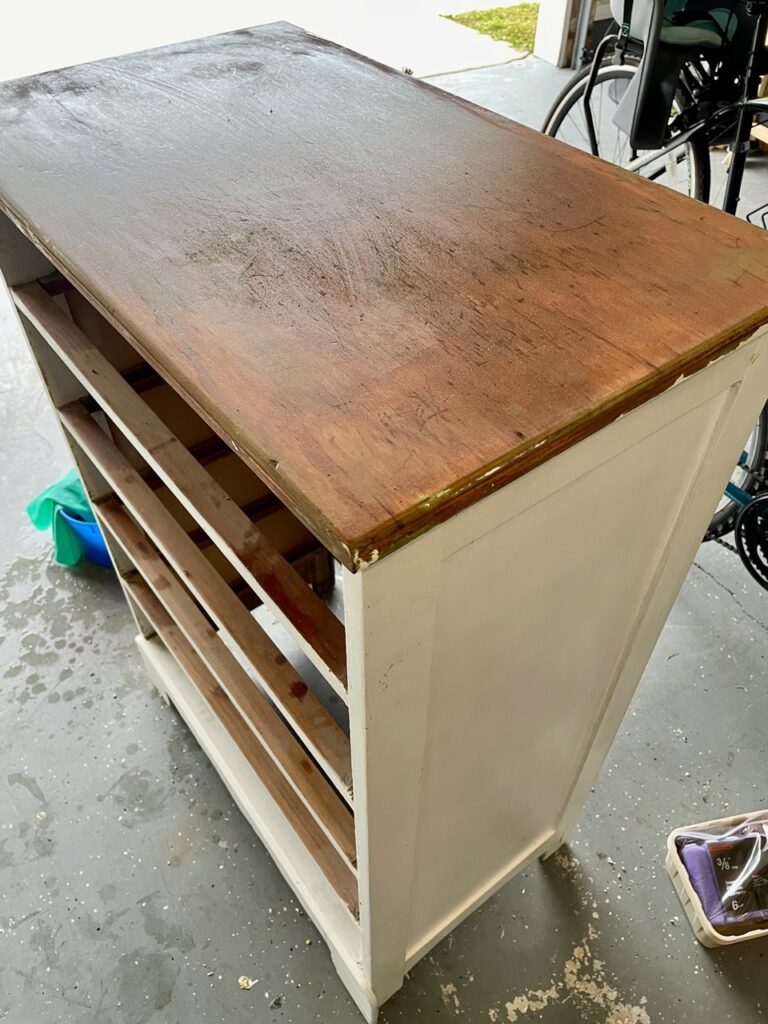
Once the top was done, I started with the sides. Lucky for me, there is not a ton of little detail on the dresser, so it’s easy to get close to the edge.
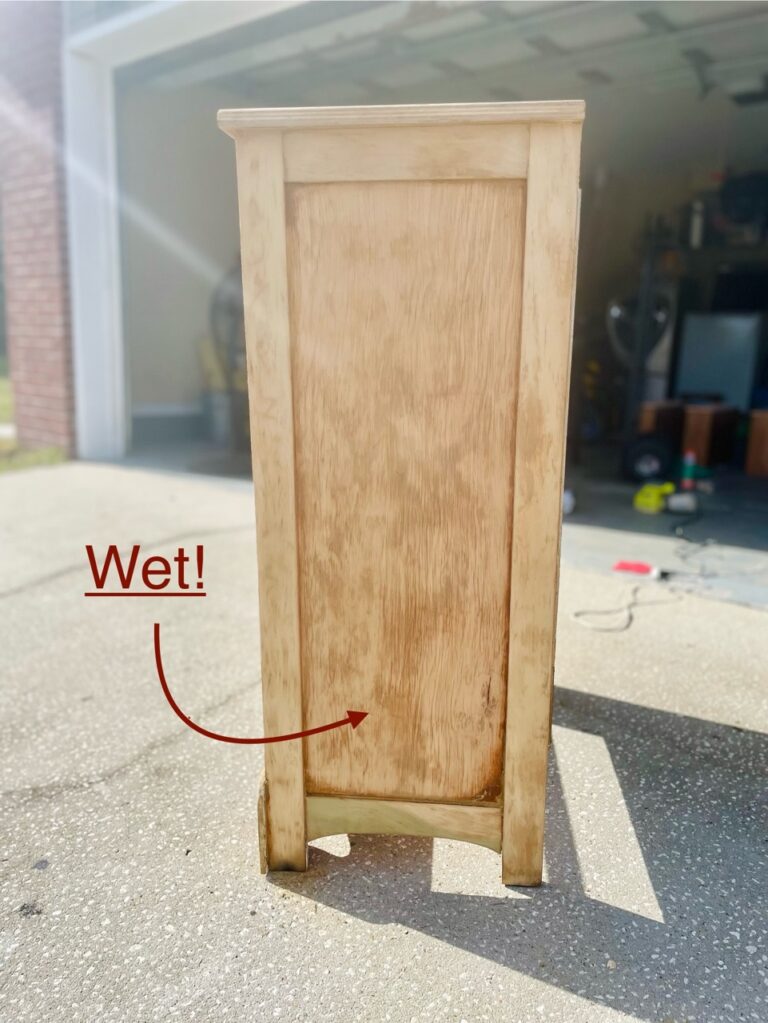
I decided to try something a little different on the sides, but regretted it. After adding the stripper, I covered it with plastic wrap and left it to sit for about 12 hours.
What I noticed was that it didn’t necessarily make it any easier to remove the paint, but did make the wood wet. I had to wait for it to dry thoroughly before taking the next step.
In some cases, leaving it on longer would have been very beneficial, but for the rest of this project, I decided to stick with 2-4 hours.
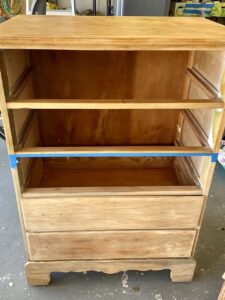
Over a couple of days, I had victoriously removed the bulk of old paint and was ready to start the next step of this dresser update. Sanding.
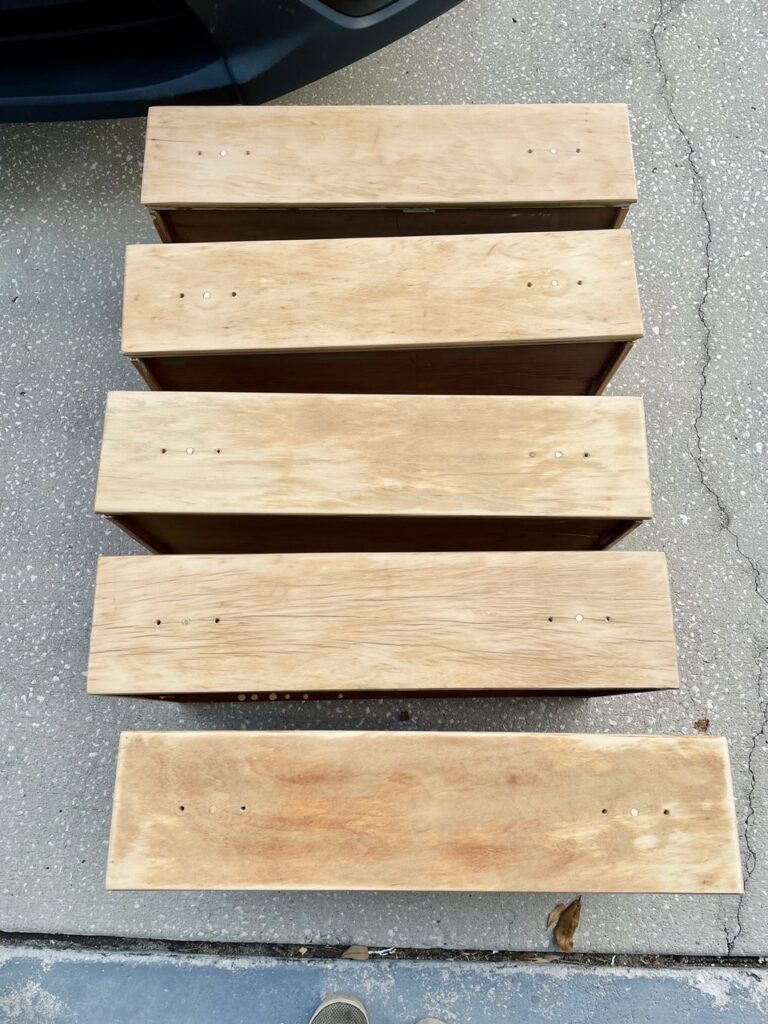
Using a rotary sander, I started with 80 grit to get the final chunks of paint out of the way.
I followed with 120 to smooth it all out. It took a little time to get into all the corners, but worth it!
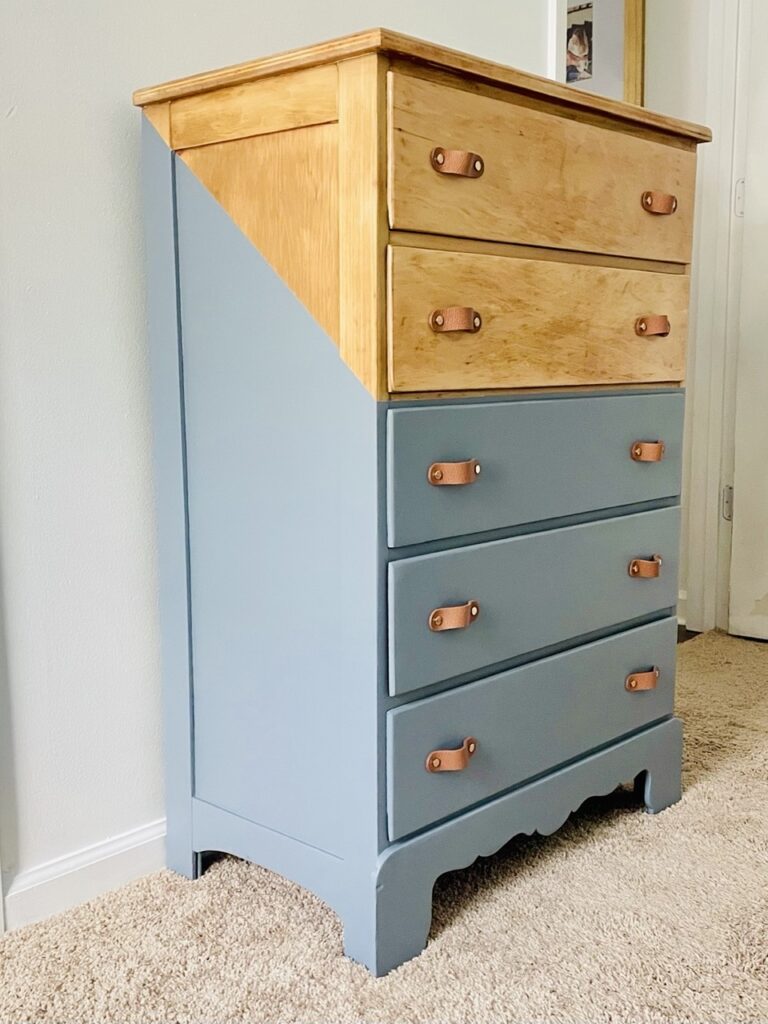
Step 2. Tape and Paint
I looked through dozens of two-tone pieces of furniture and went back and forth on shapes, directions, and colors.
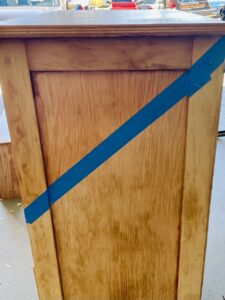
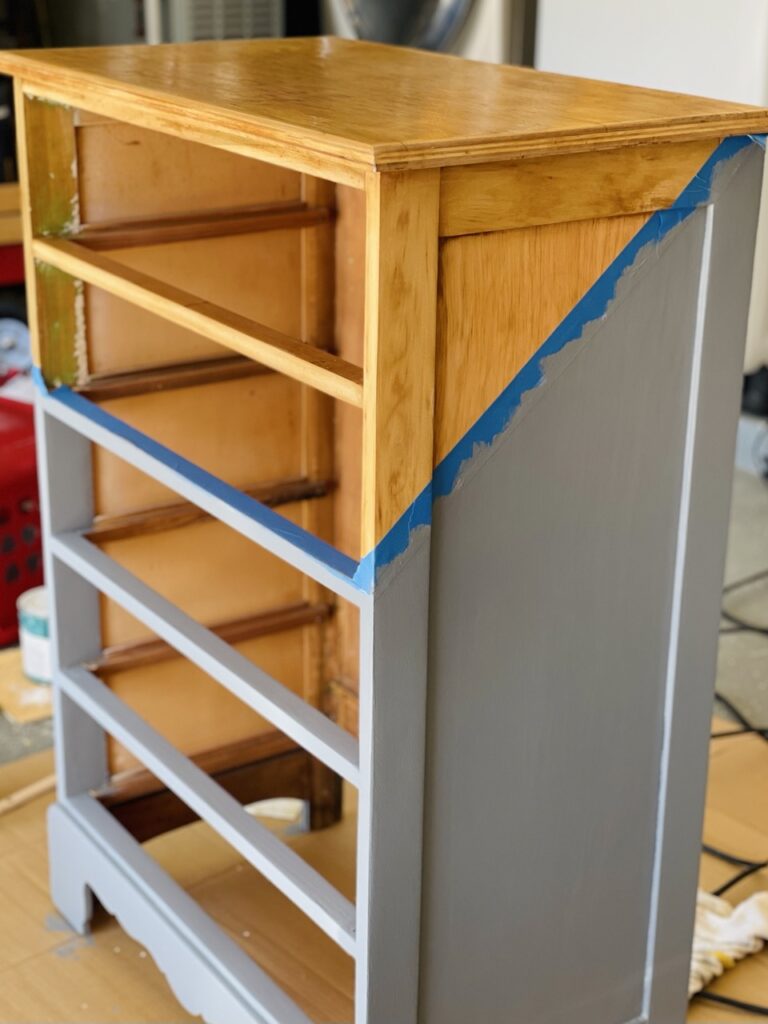
I decided on simple diagonals on either side and straight across the front.
Some areas of the dresser didn’t sand down well, and I wanted to use color to hide some of those imperfections.
I thought briefly about making a trip to purchase a stain with a hint of grey, but instead opted for the clear finish I had on hand.
I added a thin layer, ensuring no drips were on the edge. Once That dried, I did a little sanding with 220 grit and added another layer.
Once the top coat dried thoroughly, I removed the tape and then re-taped just above the line. Since I decided on a diagonal on the sides, I was working with a small lip that had its challenges.
Once I felt happy about the tape, I added a very small amount of caulk to help keep a clean line. There may be a better way than caulk in this scenario, but this was something I knew I could count on!
I thought about using a paint roller to prevent brush lines, but since this was such a small project I opted for a brush with 2-3 thin coats of paint.
I finished with a polyurethane top coat to prevent scratches and scrapes from the inevitable toddler mishaps.
Once everything had dried, drawers included, I was ready to decide on pulls. The dresser update is quickly coming together!
Step 3. Drawer Pulls
When I started this project, I envisioned a long black metal drawer pull. Then I hit a snag.
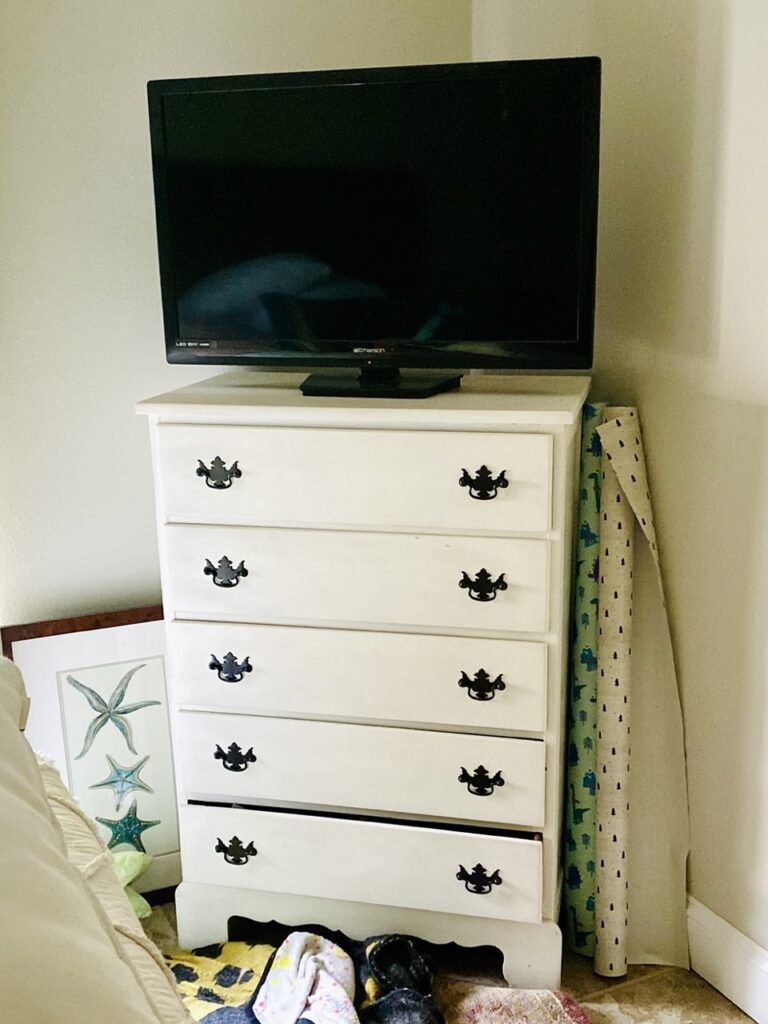
This dresser had already been through some changes. Each drawer has a total of 6 pre-drilled holes, one on each side that was already filled – not great – and two that were being used for the drawer pulls I started with.
Sticking with my initial concept, I thought if I found something with a good-sized backplate, I could cover the two extra holes on either side. This will only impact the top two drawers that won’t be painted.
Once I started to look at custom drawer pulls, I realized I was way farther down the rabbit hole than I wanted to be.
I remind myself that this project, like everything in this house, is not meant to stress me out.
Taking a big step back and rethinking what would be cost-effective going forward, I came up with some options.
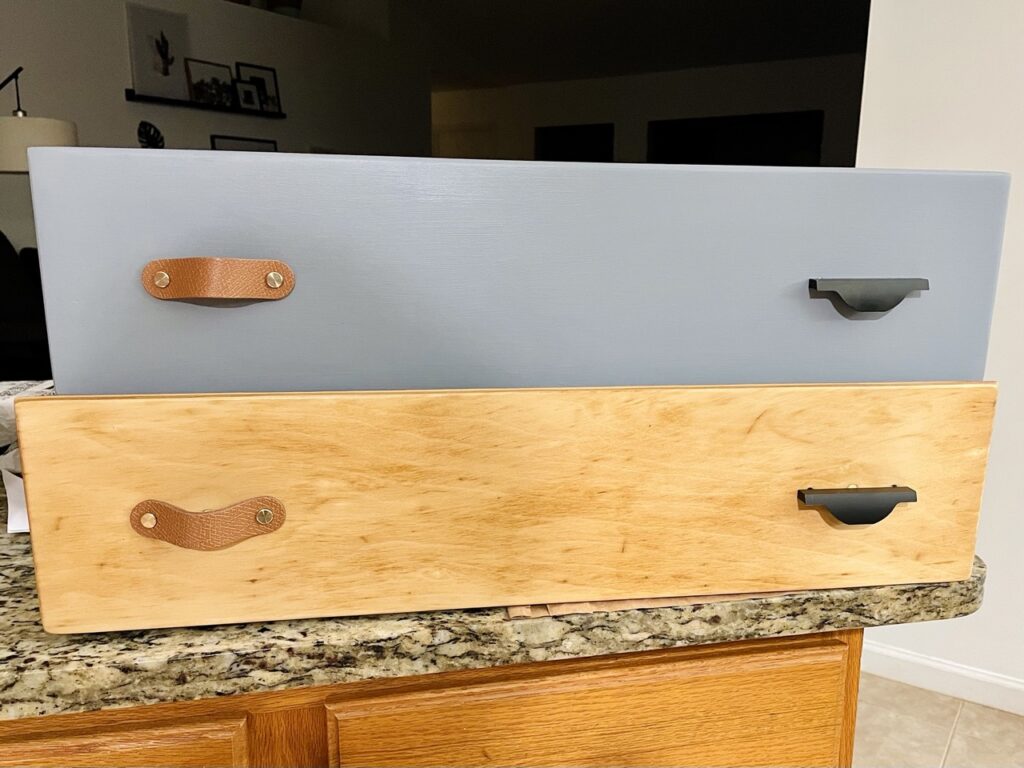
You can actually see the ‘extra’ hole on the bottom right drawer.
It was a pretty easy choice from here. Leather pulls for the win!
Turns out a soon-to-be-four-year-old could care less. He would just as happily continue to keep his clothes on the closet floor.
My 7-month-pregnant wife, however, is thrilled to not have to lower herself to the floor just to find a pair of jammies.
I think the dresser update turned out perfectly, and will hopefully be something that he’s able to use for a long time!